Table of Contents
- Master These 5 Posing Fundamentals for Event Photos
- Professional Headshot Posing Tips for Event Portraits
- Group Photo Posing Techniques for Corporate Events
- How to Look Natural in Photos at Networking and Gala Events
- Event-Specific Posing: Networking vs. Gala vs. Conference
- What to Wear: Clothing and Color Coordination for Event Photos
- Post-Production Expectations for Professional Event Photos
- Conclusion: Your Next Steps for Flawless Event Photos
- Frequently Asked Questions
Last Updated: October 3, 2026
Master These 5 Posing Fundamentals for Event Photos
Five posing fundamentals fix 80% of amateur shots, according to an analysis of professional headshot techniques by Scale Headshots’ 2026 posing guide. That single finding shapes everything below.
The 30-45 Degree Body Angle
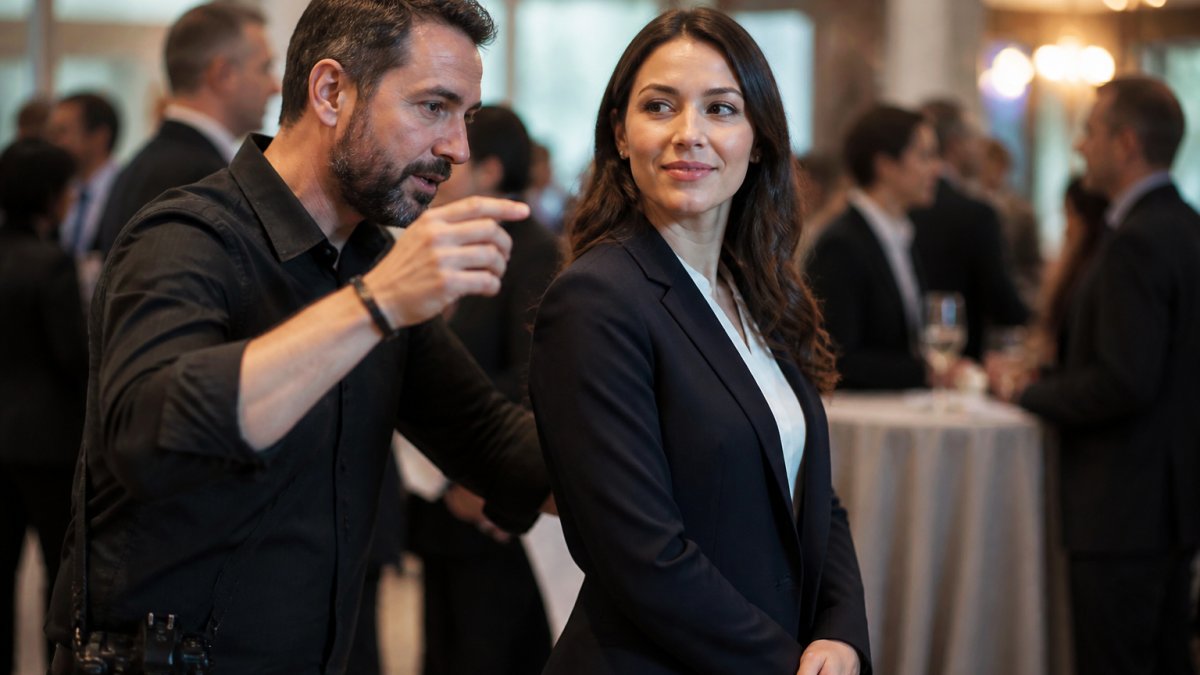
The most widely recommended pose turns the body 30 to 45 degrees away from the camera, according to Capturely’s 2026 headshot posing guide. This angle slims the torso and adds depth. Square shoulders to the lens read flat. A slight turn gives the camera a better line.
Chin Forward and Down
Push the chin slightly forward and down. That one move defines the jawline and removes the double-chin shadow. Most people pull their chin back instead, which flattens the face.
Professional Headshot Posing Tips for Event Portraits
Professional headshot posing tips start with a safe baseline. A safe pose is a body position straight on or at a shallow 15-degree angle, with direct eye contact and a slight natural smile, per Scale Headshots’ best professional headshot poses. Build from there.
The Safe Pose: Straight On or 15 Degrees
The safe pose works for almost anyone. Stand straight on or turn just 15 degrees. Make direct eye contact. Add a slight, natural smile. It photographs well in any lighting and never looks forced.
Hand Placement and Keeping Hands Busy
Hands are the hardest part of any portrait. Give them a job:
- Hold a drink or a name badge
- Rest one hand in a pocket
- Cross arms loosely, never tight
Idle hands fidget. Busy hands look relaxed.
Tell guests to hold their glass at chest height with the elbow slightly out. It opens the shoulders and gives the hand a natural anchor. Empty hands always find an awkward place.
Group Photo Posing Techniques for Corporate Events
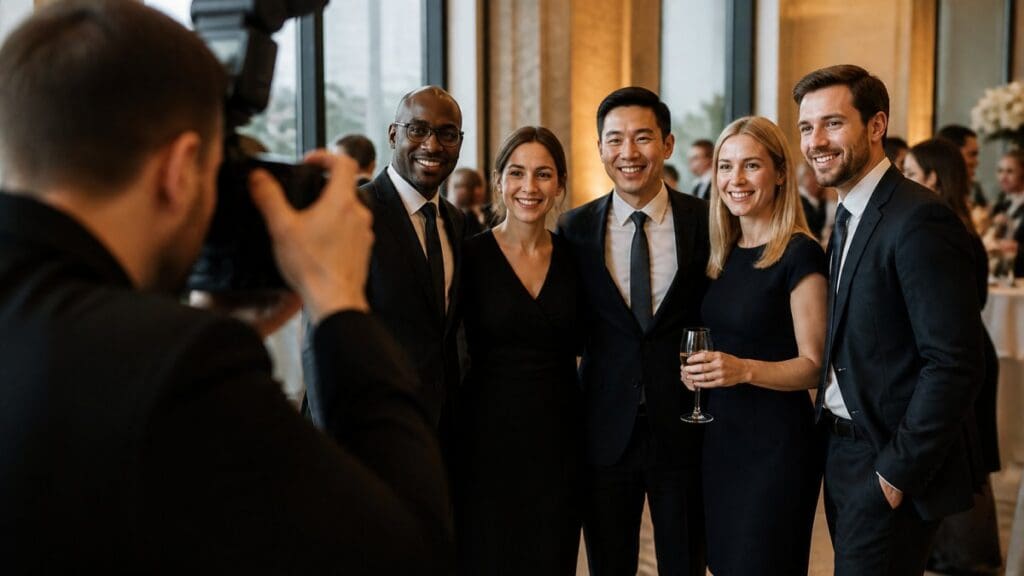
Group photo posing techniques depend on hierarchy. Photographers should identify the “chain of command” to position people by impact, then vary levels and head placements to create visual interest, according to Gary Hughes’ Imaging USA 2026 session. Groups fail when everyone stands in one flat row. They also fail when the photographer treats a four-person cluster and a forty-person tiered shot the same way.
Chain of Command and Varying Levels
Put leadership in the center or on the anchor end. Stagger heights so no two heads sit at the same level. Tilt shoulders slightly toward the middle. This creates a pyramid shape the eye reads as organized.
A second rule matters just as much: keep the most senior person closest to the camera in their row, not buried in the back.
| Group Size | Formation | Key Move |
|---|---|---|
| 2-4 people | Loose cluster | Stagger heights, angle shoulders |
| 5-8 people | Two rows | Front row seated or lower |
| 9-15 people | Three rows | Center anchor, step-down sides |
| 16+ people | Tiered rows | Raise back row, keep spacing even |
Sightlines, Lenses, and the Mechanics Nobody Mentions
Most group photo failures are mechanical, not social. Three variables decide whether a group shot reads as professional or amateur:
- Lens choice: A wide lens up close distorts the people at the edges. Step back and use a longer focal length, a common working range is 35mm to 50mm on a full-frame body for groups of 5 to 15, so faces at the edges stay proportional to faces in the center.
- Camera height: Shoot from slightly above eye level of the front row, not from chest height. Shooting up from chest height makes the back row look like it is looming over the front row.
- Sightlines: Every face must see the lens. If a back-row guest has to tilt their head up or lean around a shoulder, the pose has already failed. Have the back row step into the gaps between front-row heads, not directly behind them.
Timing, Throughput, and the Two-Frame Rule
At a corporate event, the group photo is a logistics problem as much as a posing problem. A few patterns hold up:
- Call the group once, not three times. Repeated “one more” requests erode goodwill and produce forced smiles. Announce the shot, count to three, and shoot a burst of three to five frames.
- Shoot a safety frame first. Take one frame before anyone is fully settled. It often catches the most natural expressions.
- Direct the eyes, not the bodies. Tell the group where to look (“everyone look at me, then at the person next to you”) rather than issuing body adjustments one at a time.
When the Group Is Too Large for a Single Frame
Once a group passes roughly 20 people, a single frame starts to lose individual faces. Two options work better than forcing everyone into one shot:
- Split the group by team or department and shoot each subgroup, then shoot a wide “everyone” frame for context.
- Shoot from a raised position, a step, a low stage, or a stairwell, so the camera looks down into the group rather than across it. This compresses the rows and keeps faces visible.
The most common group photo mistake at corporate events is shooting from the same eye level as the front row with a wide lens. It flattens the group into a single line and stretches the people at the edges. Raise the camera, step back, and use a longer lens before you ask anyone to move.
A group photo that respects hierarchy, sightlines, and throughput becomes a usable asset for the company’s website, annual report, and recruiting materials, usually why the group was assembled in the first place.
How to Look Natural in Photos at Networking and Gala Events
Learning how to look natural in photos starts with prompts, not poses. A 2026 industry shift points to authentic expressions over forced posing, with natural retouching as the new standard for corporate and event imagery, per Calvin Pennick Jr. Photography’s 2026 style guide. Stiff poses read as stiff. Guided movement reads as real.
Using Props and Prompts for Natural Movement
Props and prompts give the body something to do. Try these:
- “Walk toward me and stop mid-step.”
- “Turn and look back over your shoulder.”
- “Laugh at something your colleague just said.”
Movement hides camera shyness. The best frame often lands between poses.
The biggest mistake at galas is posing guests against a blank wall under a single overhead light. It casts harsh shadows under the eyes and flattens the face. Move two steps toward softer, directional light instead.
Event-Specific Posing: Networking vs. Gala vs. Conference
Posing changes with the room. A networking mixer calls for relaxed, mid-conversation body language; a gala rewards formal posture and elegant hand placement; a conference keynote favors clean, confident headshots near branding. The mistake most guests make is carrying one pose into all three, each format has its own physics, light, and social contract.
Networking Mixers: Posing Mid-Conversation
Networking floors are crowded, loud, and lit unevenly. The goal is to look caught in a good moment, not pulled out of one.
- Stance: Weight on the back foot, front foot angled 30 to 45 degrees toward the camera. This reads as approachable rather than squared-off and defensive.
- Hands: One hand holds a drink at chest height, elbow slightly out. The other stays free or rests near a pocket. Never both hands on the glass.
- Gaze: Look at the person you were talking to, not the lens, for the first frame. Then turn to the camera on the second. Photographers who shoot two frames per guest get one candid and one composed image from the same interaction.
Galas: Formal Posture Without Stiffness
Gala lighting is usually the hardest of the three, dim ambient, bright flash, and reflective surfaces everywhere. Formal wear also restricts movement, which is why gala poses fail more often than networking poses.
- Posture: Stand tall, shoulders back and down, chin forward and slightly down. A tuxedo or gown already holds structure; the guest’s job is to not collapse into it.
- Hand placement: One hand on a clutch, a program, or a partner’s arm. The other rests at the side or lightly on a hip. Avoid the “prom pose”, both hands clasped in front, which flattens the silhouette.
- Angle: A 30 to 45 degree turn is even more important in formal wear because it shows the garment’s line rather than its full front panel.
Conferences: Clean, Confident, On-Brand
Conference portraits often end up in press releases, speaker pages, and LinkedIn posts, so they need to be usable professionally, not just flattering.
- Stance: The safe pose, straight on or 15 degrees, works best here. Direct eye contact, slight natural smile, hands below the collarbone.
- Badge and branding: Keep the badge visible but not centered on the chest. Turn it slightly so the logo reads without dominating the frame. If the event has a step-and-repeat, position yourself so the logo sits beside your shoulder, not behind your head.
- Framing: Ask for both a tight headshot and a three-quarter frame. The tight frame works for speaker bios; the wider frame works for social posts and press.
The Cross-Format Rule
Across all three formats, one principle holds: match the energy of the room. A networking floor rewards motion. A gala rewards stillness. A conference rewards clarity. Guests who read the room before they pose look like they belong in it.
Give guests a single sentence of direction per format, “talk to someone, then turn,” “stand tall and hold the clutch,” “look at me and smile”, rather than a list of adjustments. One cue produces a natural pose; five cues produce a frozen one.
Quick, guided posing now anchors professional event workflows: it keeps guest throughput high at on-site headshot stations without sacrificing quality, and gives the photographer a repeatable script for every format. Mastering these efficient physical cues creates a foundation of composure that remains just as essential when preparing for professional interviews under the bright lights of a studio.
What to Wear: Clothing and Color Coordination for Event Photos
Clothing choices decide how photos age. Solid mid-tone colors photograph best; busy patterns, thin stripes, and large logos distract the eye and date fast. For groups, coordinate two or three colors instead of matching exactly.
A few rules that hold up:
- Avoid all-white and all-black under harsh event lighting
- Skip shiny fabrics that catch flash
- Bring a jacket or blazer for structure
This is the gap most posing guides skip. Great posture cannot fix a distracting outfit.
Post-Production Expectations for Professional Event Photos
Post-production sets the final look. Event photography trends in 2026 show a rise in bold color grading, double exposures, and overlays, according to ItsJeffB’s 2026 event editing trends. Natural retouching is now the baseline.
Ask your photographer two questions before the event:
- What is the delivery timeline for highlights?
- How much retouching is included?
For press releases and donor outreach, you need select images fast. Confirm turnaround in writing before the event day.
Posing gets you 80% of the way. The last 20% is lighting, clothing, and post-production working together. Plan all four before the event, not after.
Conclusion: Your Next Steps for Flawless Event Photos
The hardest part of event photography is not the camera. It is making guests feel at ease while you capture them at their best. Event Photojournalism delivers award-winning photography, customized coverage for conferences and galas, and high-resolution image delivery across the DMV area. We serve clients from our Washington DC and Northern Virginia locations, capturing every important moment as a lasting visual asset.
Frequently Asked Questions
How do I pose for a professional business photo?
Stand with your body angled 30 to 45 degrees away from the camera, then turn your head back toward the lens. Keep your chin slightly forward and down to define your jawline. Relax your shoulders and place one hand in a pocket or lightly on your hip. This combination creates a polished, confident look that works for event photos and headshots alike.
What are the best ways to look natural in event photos?
Focus on authentic expressions rather than forced smiles. Try a subtle prompt like thinking of a recent win, or use a prop such as a drink or name tag to keep your hands busy. Shift your weight to one leg and avoid locking your knees. These small adjustments help you look natural in photos and reduce camera shyness during professional events.
How do you pose for group photos at professional events?
Group photo posing techniques start with identifying the chain of command so key individuals are positioned by impact. Vary levels by having some people stand and others sit or crouch. Angle bodies slightly toward the center to create a cohesive frame. Leave a small gap between shoulders to avoid a crowded look, and ensure everyone’s face is visible.
What should I wear to look good in professional event photos?
Choose solid colors that contrast with the background and avoid busy patterns that distract. Darker tones tend to look more polished for formal events, while lighter shades work well for daytime conferences. Coordinate with your group to avoid clashing. Wrinkle-free fabrics and well-fitted clothing help you look sharp in every shot.