Table of Contents
- Why Product Launch Photography Demands a Different Approach
- Tip 1: Build a Product Launch Photography Shot List Before the Event
- Tip 2: Master Lighting Techniques for Product Reveals
- Tip 3: Shoot for the Buyer with Contextual and Lifestyle Images
- Tip 4: Capture the Launch Event for Pre-Launch Buzz and Post-Launch Content
- Tip 5: Use Composition to Make Your Hero Product Stand Out
- Tip 6: Plan Your Editing Workflow for Fast Turnaround
- Tip 7: Know When Hiring a Professional Event Photographer Pays Off
- Frequently Asked Questions
Last Updated: September 7, 2026
Launching a product without compelling visuals is like sending an invitation to an empty room. While many teams treat product launch photography as an afterthought, the brands that generate real momentum start planning their imagery months before the product is finalized. This guide covers the 7 best tips for product launch photography to help you capture images that actually convert.
Most guides treat this as a technical exercise in aperture and shutter speed. They miss the bigger point: your photography is a marketing asset designed to sell a story, not just document a product. The most effective product launch photography bridges technical craft and strategic promotion, delivering images that work across your website, press releases, social channels, and event coverage. Below, we break down the process to plan, shoot, and deliver launch imagery that elevates a brand.
Why Product Launch Photography Demands a Different Approach
Product launch photography differs from routine catalog shoots because it serves a compressed timeline with high-stakes outcomes. You’re creating the visual foundation for an entire campaign that must generate excitement, educate buyers, and support sales conversations simultaneously.
The stakes are higher because the images do double duty: clean, detailed product shots for your website, and emotive, contextual visuals for social media and press. A common mistake is shooting everything on a plain white background and calling it done. That approach fails to convey size, scale, and suggested use, which is exactly what helps buyers feel confident about a purchase.
A successful launch shoot requires planning that mirrors a marketing campaign. You need a clear understanding of where each image will live, what job it performs, and how it reinforces your brand identity. This strategic foundation is what turns a collection of nice photos into a cohesive visual story that supports your go-to-market plan. Professional guidance on product launches consistently emphasizes that photography should not wait until the product is finalized; capturing images early is essential to building that pre-launch buzz Donna Santos Studio’s product launch photography guidance.
Tip 1: Build a Product Launch Photography Shot List Before the Event
A product launch photography shot list is the single most effective tool for keeping your shoot on schedule and on budget. Without one, you’ll waste valuable studio time and risk missing critical angles that your marketing team expects.
Start by listing every deliverable your campaign requires. Common categories include:
- Hero shots: The product alone on a clean background, used for your main product page and primary announcements
- Lifestyle images: The product in use, showing scale and context, ideal for social media and email campaigns
- Detail close-ups: Macro shots of textures, materials, or unique features that differentiate your product
- Packaging shots: The box or unboxing experience, useful for unboxing videos and influencer outreach
- Team or process shots: Behind-the-scenes images that humanize your brand and build authenticity
Assign each shot a primary use case and platform. This forces you to think about orientation, aspect ratio, and composition before you start shooting. A vertical 4:5 crop works best for Instagram, while a wide 16:9 frame suits YouTube pre-roll and website banners.
Share your shot list with your photographer before the event. A professional can spot gaps, suggest additional angles based on experience, and arrive prepared with the right lenses and lighting modifiers. This pre-production conversation is where the real value of hiring an expert shows up.
Tip 2: Master Lighting Techniques for Product Reveals
Lighting determines whether your product looks premium or cheap. The goal is always color accuracy and flattering shadows that define shape without hiding detail.
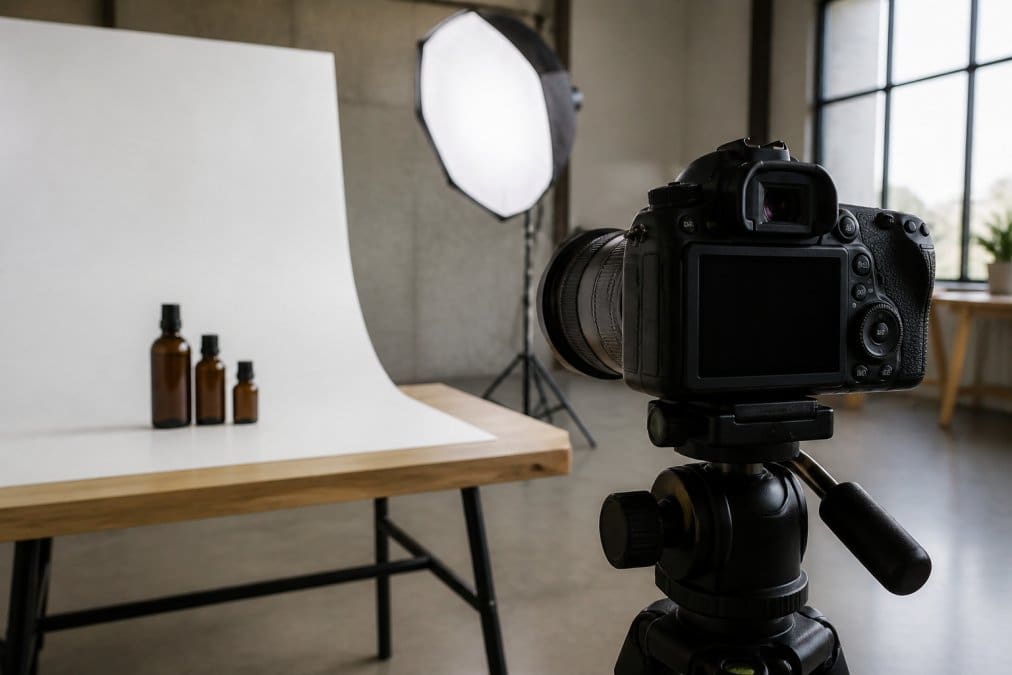
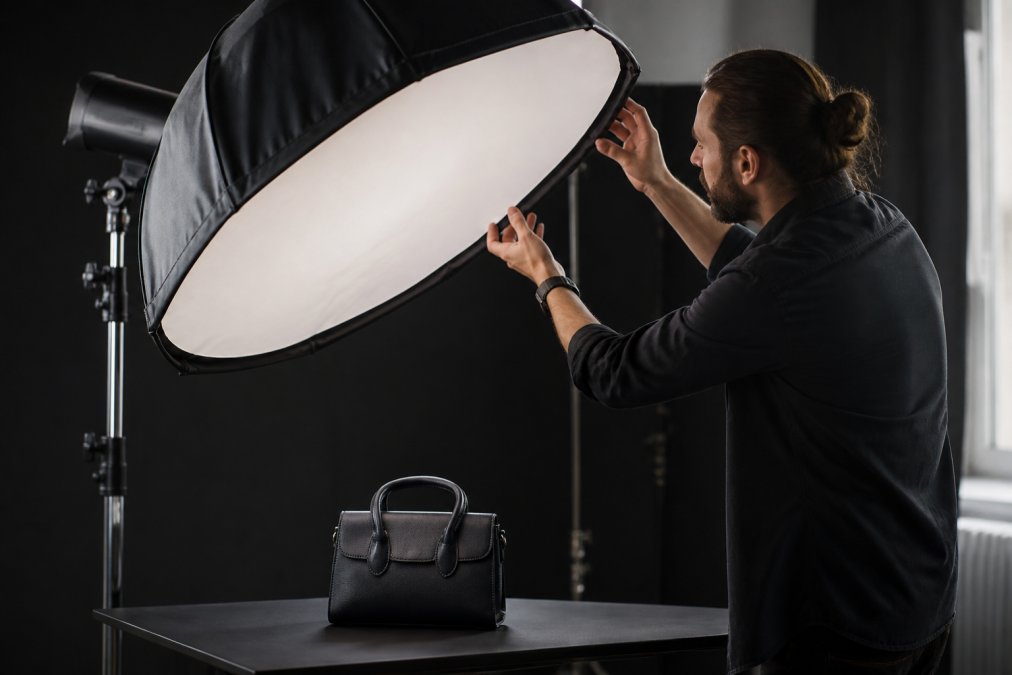
For most launch photography, soft, diffused light is the safest starting point. A softbox or diffuser wraps light around the product, minimizing harsh reflections and producing an even exposure. This works well for glossy surfaces, glass, and electronics that create hot spots under direct light.
If you’re shooting without a studio, natural light from a north-facing window provides a consistent, soft quality that’s hard to beat. Position a white foam board opposite the window to bounce light back into the shadows and reduce contrast. Avoid using your camera’s digital zoom function, which significantly reduces image quality; physically move the camera closer to the product instead Printful’s product photography trend guidance.
Aperture choice also plays a strategic role. A wider aperture, meaning a lower f-number, creates a blurred background that isolates the product and draws the eye to the hero subject. A smaller aperture, with a higher f-number, keeps the entire product sharp from front to back, which is essential for detailed catalog shots where buyers want to inspect every feature Soona’s product photography guide.
Tip 3: Shoot for the Buyer with Contextual and Lifestyle Images
Buyers don’t just purchase a product; they purchase the outcome it delivers. Contextual and lifestyle images communicate that outcome by showing your product in a real setting that conveys size, scale, and suggested use.
A common mistake is relying solely on isolated product shots. While necessary for your catalog, they don’t answer the buyer’s core question: “What will this look like in my life?” A lifestyle image of a coffee maker on a kitchen counter, with morning light streaming in and a mug beside it, tells a story a white-background shot cannot.
This approach to showing products in a contextual setting aids buyer confidence by more accurately conveying size, scale, and suggested use, a trend that continues to gain traction Prodoto’s product photography trends. For a physical product launch, this might mean shooting on location or staging a realistic environment in the studio.
The investment in high-quality design and photography can also mitigate a small marketing budget. Russell Moverley’s case studies demonstrate how strategic visual assets enabled a successful product launch on a tight budget, proving that compelling imagery often matters more than spend Russell Moverley case studies. Similarly, Jungle Scout’s Million Dollar Case Study highlighted the impact of professional-grade imagery on private label product performance, showing that quality visuals directly influence sales outcomes Jungle Scout Million Dollar Case Study.
Tip 4: Capture the Launch Event for Pre-Launch Buzz and Post-Launch Content
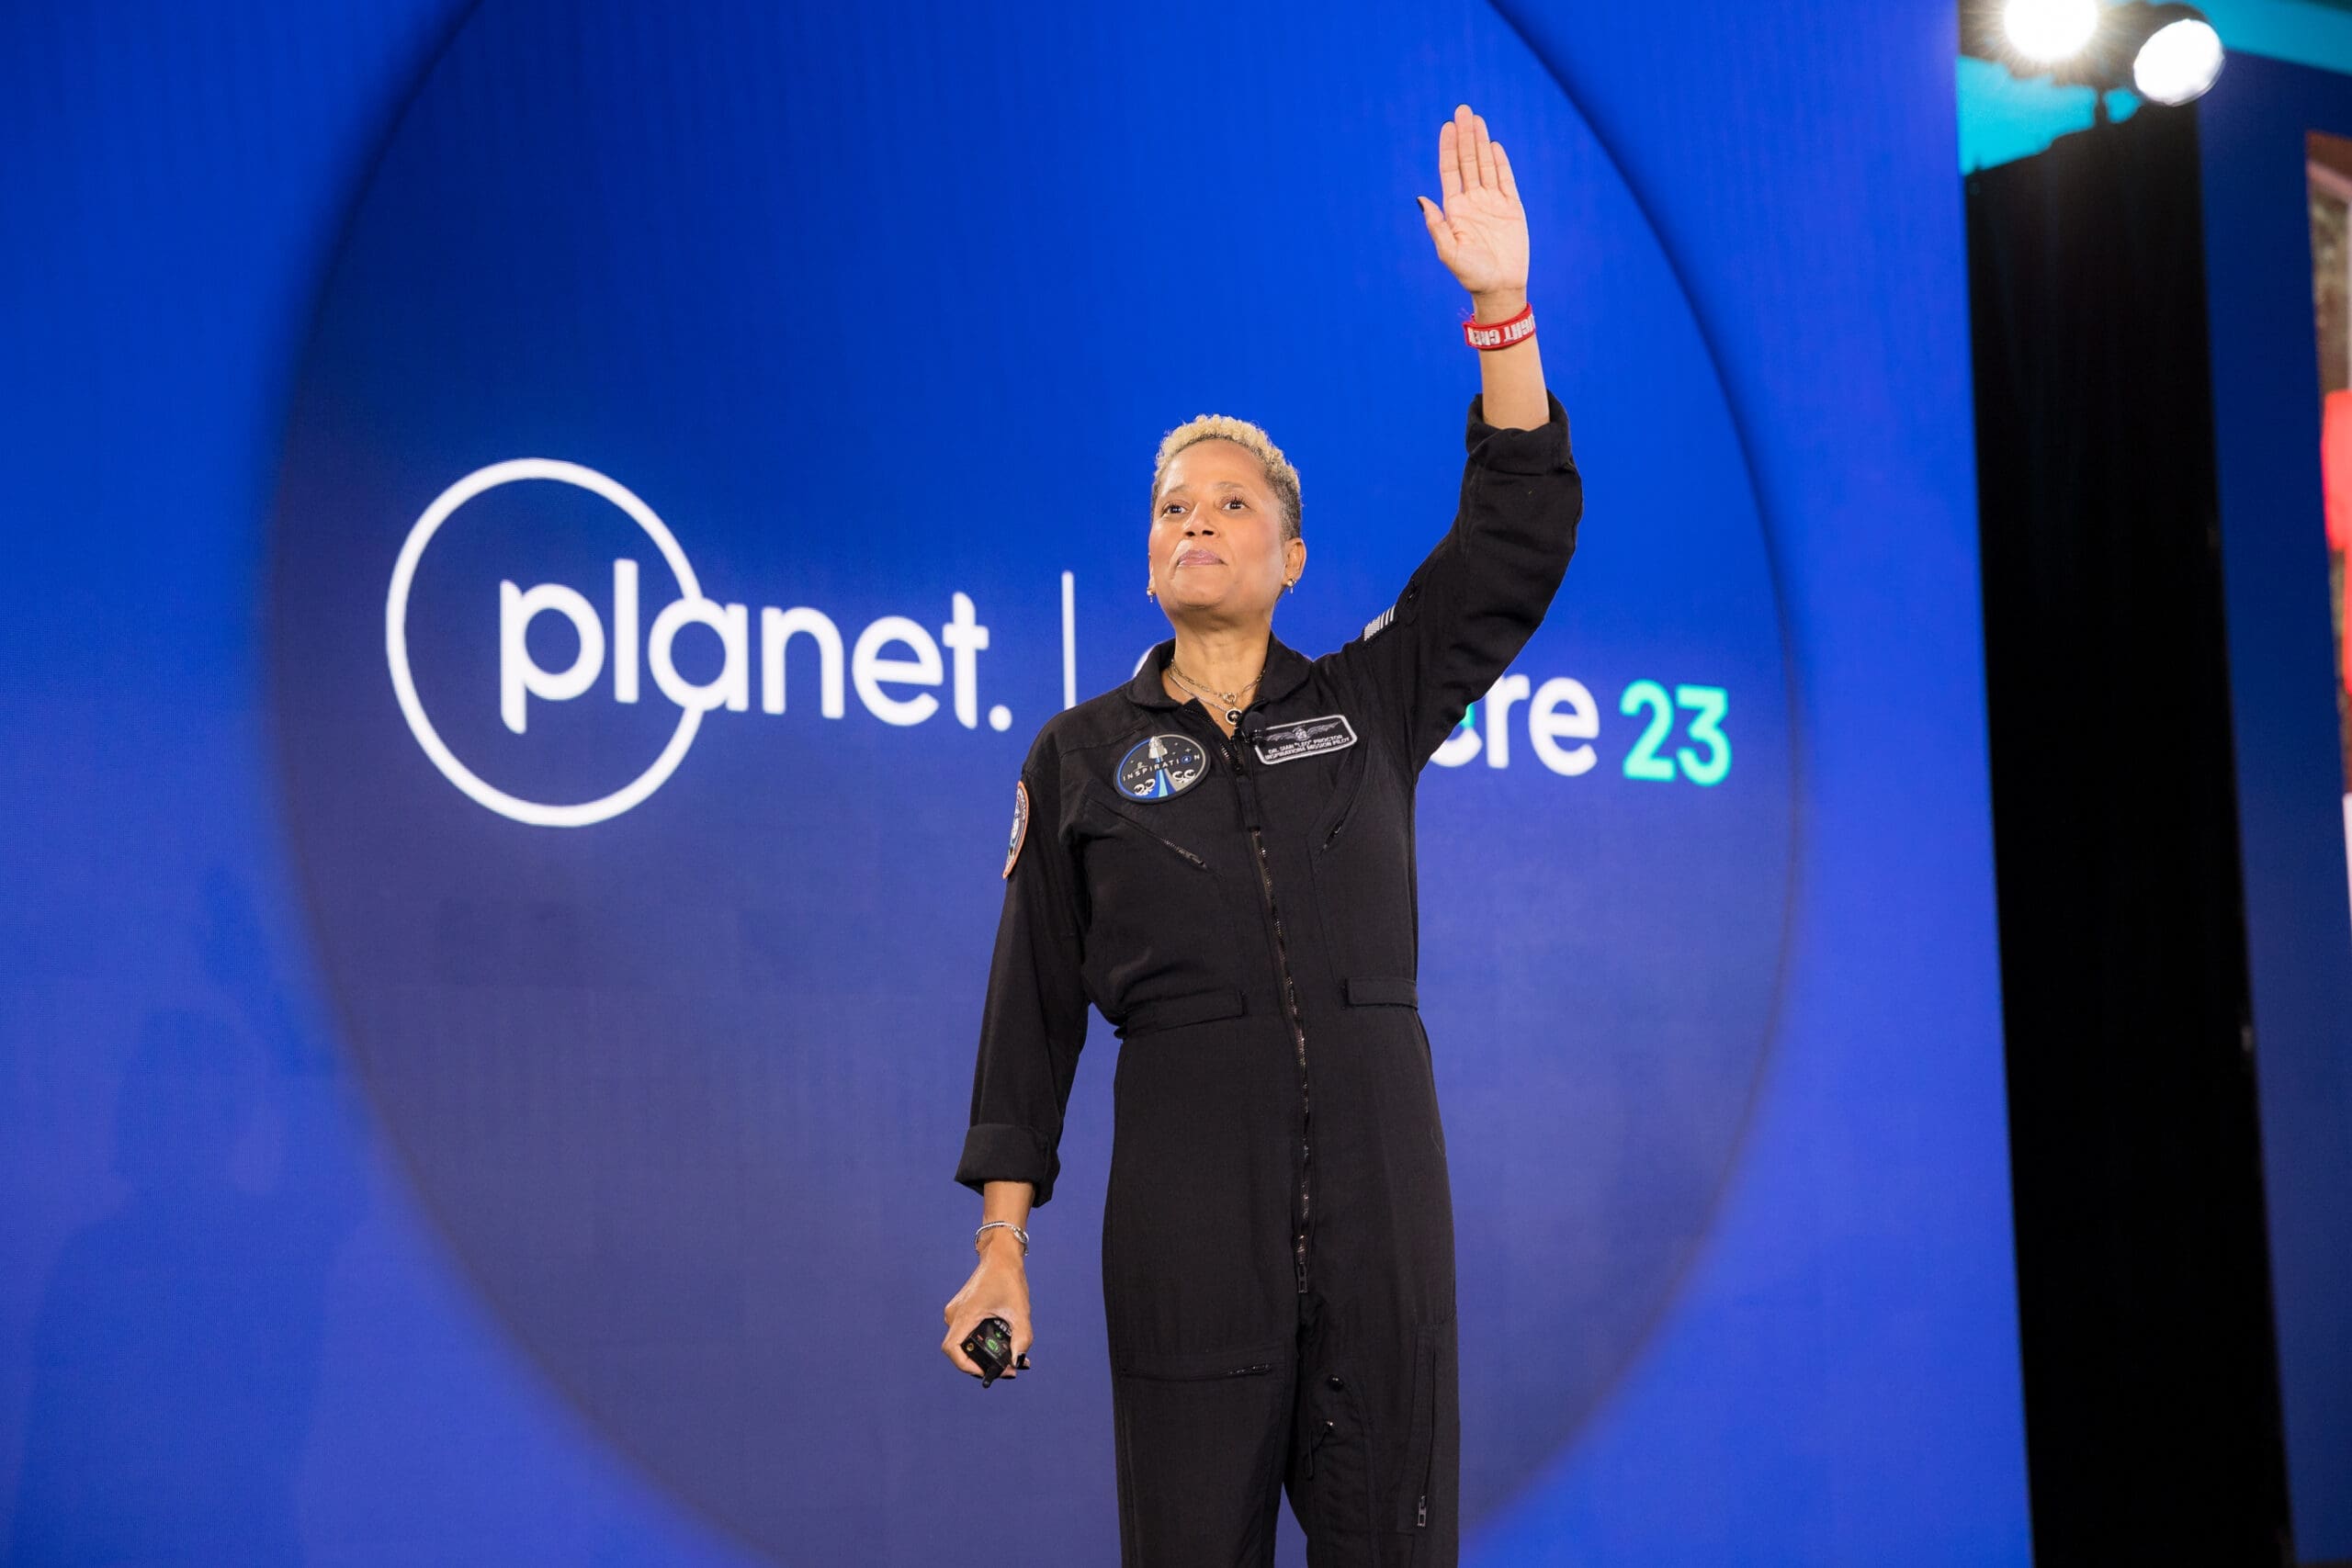
The launch event itself is a goldmine of content, but only if you plan for it strategically. Capturing both pre-launch buzz and post-launch recap content requires a photographer who understands the flow of an event and can anticipate key moments.
Before the event, use behind-the-scenes images of the setup, product staging, and team preparation to build anticipation on social media. These candid shots humanize your brand. During the event, your photographer should focus on genuine reactions, keynote moments, and attendees interacting with the product. These authentic visuals are far more persuasive than staged promotional shots.
After the event, the photography serves a different purpose: recap content for your website, thank-you notes to attendees, and follow-up sales materials. This is where hiring a professional event photographer pays off, because they understand how to work discreetly while capturing every critical moment.
Don’t wait until after the event to think about your photography needs. If you only book coverage for the event date, you’ll miss the pre-launch content that builds anticipation and the behind-the-scenes shots that add authenticity to your campaign. Plan for all three phases: pre-launch, event day, and post-launch recap.
::: inflatable product launch displays.
Tip 5: Use Composition to Make Your Hero Product Stand Out
Composition is the difference between a snapshot and a professional image that commands attention. The hero product should be the unmistakable focal point of your launch imagery.
For 2026 product compositions, industry experts recommend staggering product heights and rotating angles to create visual interest, specifically placing the “hero” product at the apex, meaning the top or center, of the frame SquareShot’s composition ideas for 2026. This draws the viewer’s eye naturally to the most important element in the shot.
The rule of thirds remains a reliable foundation. Placing your product at one of the four intersection points of an imagined nine-section grid creates a more dynamic composition than centering it. Leave negative space in the direction the product faces or where you plan to overlay text.
Visual consistency across your entire launch campaign matters just as much as individual shot quality. Use the same background color, lighting style, and prop selection across all your images. This creates a cohesive brand identity that makes your launch instantly recognizable.
Tip 6: Plan Your Editing Workflow for Fast Turnaround
Your launch photography is only valuable if it reaches your audience while the news is still fresh. A slow editing workflow can delay your press release, stall your social campaign, and let competitors steal your thunder. Plan your post-production process before the shoot.
Start by deciding which images need what level of editing. Your hero shots for the website require meticulous retouching, including background removal, dust spot cleanup, and color grading. Your event candid shots may only need basic exposure correction and a quick color pass.
Shoot in raw format whenever possible. Raw files retain significantly more data than JPEGs, giving you greater flexibility to correct exposure, adjust white balance, and recover shadow or highlight detail. This is especially important where color accuracy is non-negotiable.
A practical approach is to edit in two passes. The first pass is a quick cull, removing duplicates, out-of-focus shots, and unusable frames. The second pass is a batch edit, applying consistent color grading and exposure adjustments before doing individual retouching on priority shots. This gets usable images to your team within hours, not weeks.
Tip 7: Know When Hiring a Professional Event Photographer Pays Off
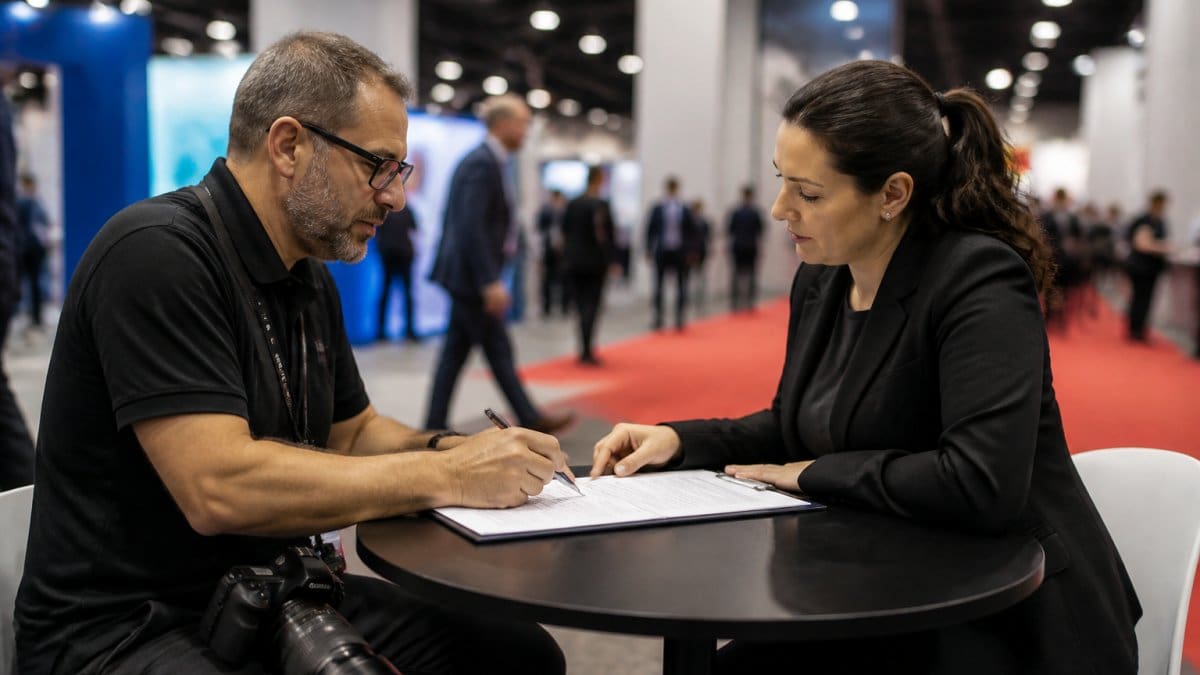
While many product launches can succeed with in-house photography, there comes a point where hiring a professional event photographer is the smartest investment. The key is recognizing when your launch has outgrown your internal capabilities.
If your launch involves a live event with VIPs, press, or sponsors, professional coverage is non-negotiable. A skilled event photographer captures the energy of the room, works discreetly around private board members, and delivers the candid, photojournalistic style that feels authentic rather than stiff and posed.
Consider the cost of failure. If your images don’t turn out, you’ll need to reshoot, which delays your entire campaign and wastes momentum. A professional delivers high-resolution images with a fast turnaround, ensuring you have highlights ready for a press release the morning after your event.
For organizations planning a significant launch, the decision comes down to whether photography is a core part of your marketing strategy or an afterthought. If you’re investing in a launch event, professional photography protects that investment by extending its reach far beyond the event itself.
| Photography Approach | Best For | Key Considerations |
|---|---|---|
| In-house DIY | Small launches, tight budgets | Lower cost, requires lighting and editing skills, slower turnaround |
| Virtual studio (Soona) | E-commerce brands needing volume | Consistent quality, less control over physical staging |
| Professional event photographer | Live launch events, VIPs, press coverage | Highest quality, strategic coverage, fast turnaround, higher investment |
The decision to hire a professional comes down to the stakes of your launch. If your product launch photography needs to support press coverage, impress VIPs, or generate immediate sales, the reliability and strategic expertise of a professional photographer is worth the investment. For smaller, internal launches, a well-planned DIY approach with good lighting and a solid shot list can deliver strong results.
Launch photography is a strategic investment that determines how your product is perceived from day one. The brands that succeed treat their imagery as a core part of their marketing campaign, planning their shots, mastering their lighting, and ensuring fast delivery of high-quality assets. Event Photojournalism can help you execute a launch that elevates your brand, with customized coverage for conferences, corporate events, and product reveals across the DMV area. Our award-winning team delivers high-resolution images with the fast turnaround your press schedule demands. Contact us and ensure your product launch is remembered through stunning imagery.
Frequently Asked Questions
What makes product launch photography different from standard e-commerce shots?
Standard e-commerce shots are usually simple, high-resolution images on a white background designed for catalog pages. Product launch photography is built for a moment in time. It supports a marketing campaign to create pre-launch buzz, capture the event itself, and generate content for press releases and social media. These images tell a story around the product, often including lifestyle shots, contextual settings, and event candids that help buyers understand size, scale, and use.
How do you choose the right lighting for a product launch event?
For product launch photography, the lighting must flatter both the product and the people attending. Event spaces often have mixed or low light, so a professional photographer will use portable flashes or off-camera lights to control the scene. For the product reveal itself, a softbox with a diffuser creates even, shadow-free light on the product. Avoid using the camera’s pop-up flash, which creates harsh shadows and color casts.
What are the best angles to capture a new product during a launch event?
Your product launch photography shot list should include a hero shot at eye level, a 45-degree angle that shows depth and scale, and a detail close-up of a unique feature. During the event, capture the product in context: someone holding it, a VIP examining it, or it being unveiled on stage. These angles give you a range of assets for your website, press kit, and social channels.
When should you consider hiring a professional event photographer for a product launch?
Hiring a professional event photographer makes sense when the launch is a high-stakes moment for your brand, when you need fast turnaround for press coverage, or when you need a specific visual style that matches your brand identity. A professional also handles the strategy side, knowing which VIPs and sponsors to capture. If your in-house team lacks the right lighting equipment or experience, the investment in a pro prevents costly reshoots.
How can photography help amplify a product launch message?
Photography drives engagement by giving your audience something to see and share. High-quality, genuine visuals stop the scroll on social media and make your press release more compelling. Contextual photos that show the product in use build buyer confidence by conveying size and purpose, which can improve your conversion rate on the product page. Capturing the launch event itself creates a sense of momentum and exclusivity around the release.