Table of Contents
- Start With a Launch-Specific Styling Workflow
- Product Launch Photoshoot Ideas That Match Your Brand Identity
- Product Photography Props and Backgrounds That Support the Story
- Build a Product Photography Shot List for Every Channel
- Style for Accessibility and Inclusive Representation
- Budget Tiers and Production Trade-Offs for Product Launch Photography
- Review Image Quality and Measure Launch Performance
- Frequently Asked Questions
Last Updated: October 11, 2026
Start With a Launch-Specific Styling Workflow
Great product launch photography starts with a plan. A launch-specific styling workflow keeps every image tied to one story, so your website, social channels, and press kit look consistent.
At Event Photojournalism, we shoot corporate events, galas, and product launches across the DMV area. The launches that go smoothly share one thing: planned visuals.
Below is the three-step workflow we would use for any product launch shoot.
Step 1: Define the Product Story and Key Moments
Write one sentence on what the product does and who it helps, then list the three to five moments the launch must show.
- The unboxing
- The product in use
- A close-up of one key detail
If you cannot name the moments, the shoot will drift.
Step 2: Lock the Creative Concept and Campaign Theme
Your creative concept is the single idea, a color, mood, or setting, tying every image together.
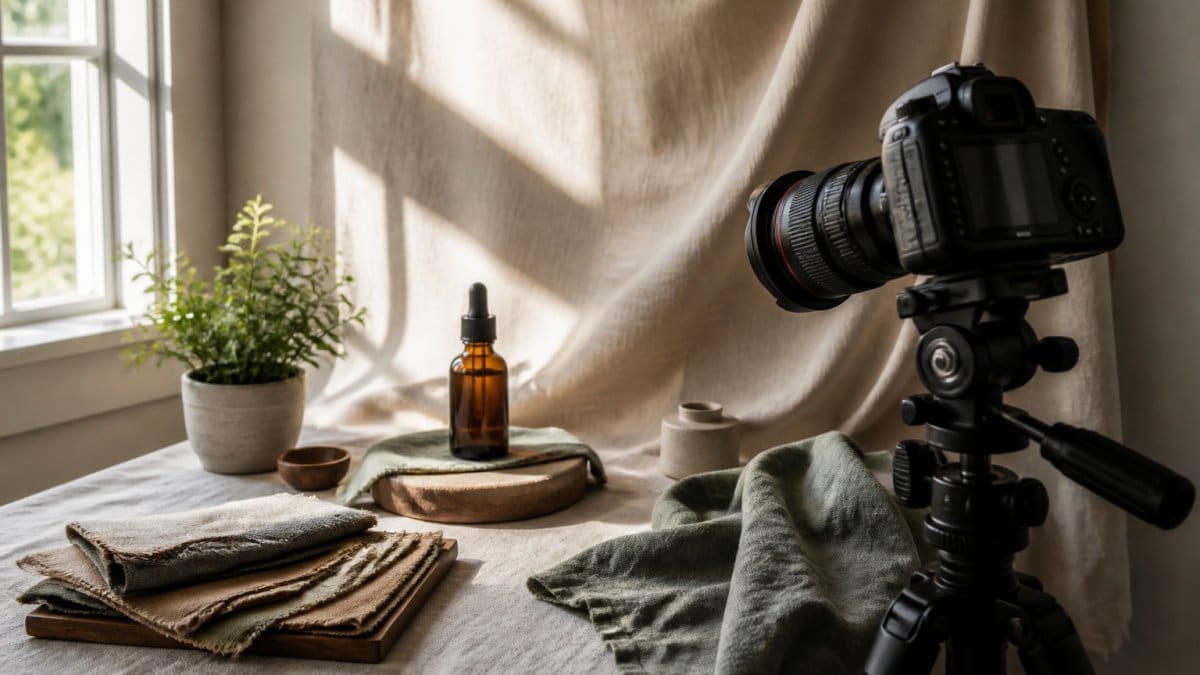
A nonprofit launching a donor app might build the shoot around “quiet generosity”: soft window light, warm wood, hands rather than faces.
Lock this before you book anything. Changing the theme mid-shoot wastes time and money.
Step 3: Build the Pre-Production Checklist and Shoot-Day Timeline
A written checklist prevents the two most common launch-day failures: missing props and missing people.
Pre-production checklist
- Final shot list approved by marketing
- Product samples cleaned and staged
- Props, backgrounds, and wardrobe confirmed
Shoot-day timeline (half-day example)
- 8:00 a.m. Load in and set up lighting
- 8:45 a.m. Styled stills and hero shots
- 10:00 a.m. In-context and lifestyle frames
Shoot your hero image first, while the product is still flawless. Handling, dust, and fingerprints show up in close-ups by mid-day.
Product Launch Photoshoot Ideas That Match Your Brand Identity
Brand consistency separates a launch shoot from a random collection of pretty pictures.
Start with your brand guide. Pull the exact colors, fonts, and tone, then translate them into visual choices:
- For a formal association: dark backdrops, clean lines, minimal props
- For a community nonprofit: natural light, real people, warm tones
- For a corporate enterprise: neutral surfaces, tight composition, sharp focus
Most teams slip here: they chase an online trend, and the images end up looking nothing like their website.
The fix: before the shoot, place three existing brand images next to your mood board.
Your visual storytelling should match how you talk. A warm, human brand should not launch with cold, clinical studio shots.
If a stranger saw your launch images with no logo attached, they should still guess your brand. That is the test for visual consistency.
Product Photography Props and Backgrounds That Support the Story
Props and backgrounds should serve the product, not compete with it. Every prop must earn its place by reinforcing the campaign story you locked in Step 2.
The Three-Layer Styling Method
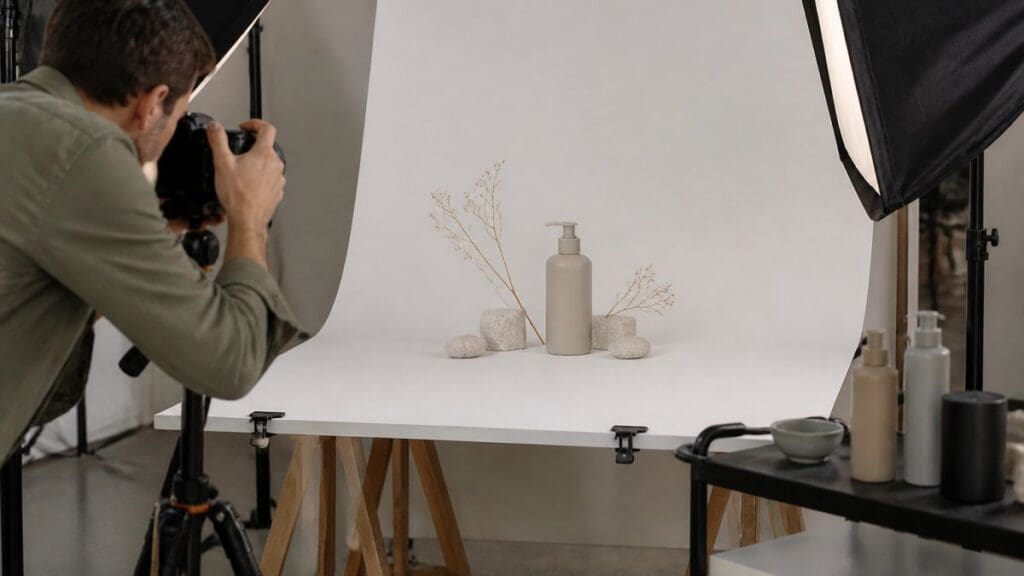
Build every setup in three layers to control depth and focus:
- Base surface, the table, counter, or floor the product sits on. This sets the dominant color and texture.
- Mid-ground props, one or two objects that hint at use, placed slightly behind or beside the product.
- Background plane, the wall, seamless, or environment behind everything. This controls how much the product pops.
When a frame looks cluttered, remove a mid-ground prop rather than change the background.
Match Props to the Product Category
Choose props that hint at how the product is used, in the same material family:
- Coffee or beverage launch: ceramic cups, linen napkins, morning light, a few loose beans
- Skincare launch: stone trays, water droplets, soft towels, a single sprig of eucalyptus
- Tech launch: clean desks, cables tucked away, cool tones, a matte laptop stand
Background Choices and When to Use Each
| Background | Best For | Watch Out For |
|---|---|---|
| Seamless paper or vinyl | Clean store shots, square crops | Shows every scuff; replace when dirty |
| Textured wall (plaster, brick, wood) | Hero and lifestyle frames | Can fight busy product packaging |
| Real environment | In-context and social images | Uncontrolled light and stray objects |
| Fabric drape (linen, canvas) | Warm, soft brand tones | Wrinkles read as sloppy in close-ups |
| Acrylic or glass riser | Elevating a small product | Reflections of the camera and crew |
The Prop Test Before You Shoot
Before committing a prop to a frame, run three checks:
- Color check: does it sit inside your brand palette, or does it pull the eye?
- Scale check: is it smaller than the product, or does it dominate?
- Story check: does it explain the product, or is it just decoration?
If a prop fails any check, pull it. Teams often add props to fill empty space, then wonder why the product looks secondary.
Over-Styling Is the Most Common Launch Mistake
When five props crowd the frame, the product disappears. A workable rule: one hero prop, one supporting prop, nothing more in the mid-ground.
Also check that every prop matches your brand colors. A stray bright object pulls the eye away from the product, easy to miss on a small monitor but obvious on a phone screen.
Photograph your prop arrangement on a phone before you shoot the real frame. A quick phone preview catches color clashes and clutter faster than reviewing on a tethered monitor.
Build a Product Photography Shot List for Every Channel
A product photography shot list is a written plan of every image you need, organized by where it will appear. One shoot should feed every channel, but each needs different crops and formats. This is the step most launch teams under-plan, and the one that causes reshoots.
The Channel Deliverables Matrix
Plan your shot list against this matrix before shoot day. Aspect ratios are the standard ratios each platform accepts; confirm current specs in each platform’s help center before delivery, since they change.
| Channel | Image Type | Aspect Ratio | Typical Use | Notes |
|---|---|---|---|---|
| Website hero | Styled hero shot | 16:9 or wider | Homepage banner | Leave negative space for headline text |
| Online store | Clean product shot | 1:1 square | Product listing | Plain background, consistent across SKUs |
| Online store | Alternate angle | 1:1 square | Gallery | Show back, side, and scale reference |
| Social feed | Lifestyle and in-context | 4:5 vertical | Feed post | People using the product |
| Social stories and reels | Vertical hero | 9:16 vertical | Stories, short video | Keep key subject in center safe zone |
| Email campaign | Detail close-up | 2:1 or 3:1 banner | Header image | Simple, clear subject, readable on mobile |
| Paid ads | Multiple variants | 1:1, 4:5, 9:16 | Testing | Shoot all three from the same setup |
| Press release | High-resolution hero | 3:2 landscape | Media pickup | Fast turnaround, no watermarks |
| Press kit | Transparent PNG | 1:1 | Logo and product cutouts | Isolated on white or transparent |
Shoot Both Orientations in Camera
Two things make this list work. First, shoot vertical and horizontal versions of your key moments. Cropping a wide shot into a vertical rarely looks right, so capture both in camera: shoot the horizontal hero, then rotate the product and props for a vertical version before moving on.
Plan for the Press Release Early
Second, plan for the press release. PR teams often need a usable image the morning after an event, so flag those files for priority editing. According to guidance from the Associated Press on photo delivery, newsrooms work on tight deadlines and need ready-to-publish files, not raw captures. Deliver a high-resolution JPEG with a clear caption and credit line, not a RAW file or a link to a download folder.
A Sample Shot List by Setup
Here is how a half-day launch shoot might break down across setups, with the channel each setup feeds:
| Setup | Frames | Feeds |
|---|---|---|
| Hero on seamless | 1 horizontal, 1 vertical | Website hero, press release |
| Clean product on white | 3 angles, square | Online store |
| Styled tabletop | 2 horizontal, 2 vertical | Email, social feed |
| In-context lifestyle | 3 vertical | Social stories, paid ads |
| Detail and texture | 2 macro | Email, store gallery |
Name Files Before You Shoot
Decide your file naming convention before the shoot. A pattern like brand_product_launch_setup_orientation_v01 keeps hundreds of files sortable and shows which channel each image was shot for. Teams that skip this spend hours matching files to placements after delivery.
Skipping the channel list is the most expensive styling mistake. You finish the shoot, then discover you have no vertical images for social and no clean square for the store. Reshooting costs far more than planning.
Style for Accessibility and Inclusive Representation
Inclusive imagery is not a checkbox.
Most launch guides skip this entirely. Here is what to plan for:
- Vary skin tones and ages in any lifestyle or in-context frame
- Show real body types, not one narrow ideal
- Include people with visible disabilities where the product allows
The Web Content Accessibility Guidelines from the W3C set the standard for accessible digital content, including the requirement for text alternatives on images.
Styling choices support this too. A clean, uncluttered composition is easier to describe in alt text and easier for everyone to read.
Representation should match your audience. If your donors, members, or customers come from many backgrounds, your launch images should reflect that honestly.
Budget Tiers and Production Trade-Offs for Product Launch Photography
Every launch has a budget, and the smart move is deciding where to spend and where to save.
| Tier | What You Get | Trade-Off |
|---|---|---|
| Lean | One location, natural light, limited props | Fewer setups, less variety |
| Mid | Studio or styled space, controlled lighting, more looks | Needs a full shoot day |
| Full | Multiple locations, talent, art direction, retouching | Highest cost, most assets |
Three trade-offs matter most.
Time versus variety. More setups mean more images, but each eats into the day.
DIY versus a photographer. Phone photos can work for a soft launch.
Volume versus editing. Shooting more frames is cheap. Editing them is not.
Pricing depends on scope: setups, locations, talent, and delivery speed all change the quote.
Review Image Quality and Measure Launch Performance
The shoot is not finished when the files arrive. It is finished when you know which images worked. Review quality first, then measure results.
Quality check before publishing
- Resolution is high enough for print and web
- Color matches the product and brand
- No dust, smudges, or stray objects
Then track performance. You do not need complex tools. Watch a few simple signals:
- Click-through rate on your launch email
- Engagement on social posts using the images
- Conversion rate on product pages with new photos
If one image outperforms the others, use it more: swap it into the hero spot, add it to the email, feature it in ads. Launch imagery is not a one-time asset.
Keep a simple log of which image ran where and how it performed. After two or three launches, you will know exactly which styles work for your audience.
Frequently Asked Questions
How do you style a product photoshoot for a launch?
Start with the campaign theme, then choose props and backgrounds that support it without crowding the product. Keep hero shots clean and add lifestyle or in-context images that show how the product fits into daily use. Use a shot list to cover e-commerce, social media, and press needs, and keep lighting and color consistent across every setup so the launch feels like one story.
What props should you use in product launch photography?
Pick props that reinforce the product’s purpose and brand identity, such as raw materials, tools, or surfaces that match the product’s environment. Avoid items that distract or imply claims the product does not make. For a consistent look, limit your palette to two or three colors and repeat textures across shots. If the product is small, use risers or acrylic blocks to create height and dimension.
How do you make product launch photos look consistent with a brand?
Set a visual guide before the shoot: background colors, lighting direction, prop style, and composition rules. Apply the same guide to every image, from hero shots to social crops. Use a tripod and consistent camera settings so lighting and angle do not shift between setups. After editing, check that color and contrast match across the full set, and export crops that keep the product centered for each channel.
What shots should a product launch photoshoot include?
A complete product photography shot list includes a clean hero image, detail shots of key features, in-context lifestyle images, and a few vertical crops for social media. Add a flat-lay or overhead shot for e-commerce listings and a behind-the-scenes image for pre-launch buzz. For press, include a high-resolution version with no text overlay. Confirm image resolution and file formats with each channel before the shoot day.
Launch day moves fast, and your images have to be ready before the news breaks. If you need high-resolution, on-brand visuals delivered on a tight timeline, Event Photojournalism can help. We offer award-winning photography, customized packages, and coverage for conferences, corporate events, galas, and product launches, with two locations serving the DMV area. Contact us to plan your launch shoot and turn your key moments into lasting visual assets.