
Table of Contents
- Define Your Audience and Core Messages Before Planning Your Annual Report Photo Shoot
- Build Your Annual Report Photoshoot Shot List
- Create an Annual Report Photography Brief Template
- Set Your Annual Report Photoshoot Timeline and Production Schedule
- Scout Locations and Coordinate Key Participants
- Review Annual Report Photo Examples and Set Quality Standards
- Manage Consent, Image Rights, and Safeguarding
- Deliver and Organize Your Final Images
- Frequently Asked Questions
Last Updated: October 10, 2026
Define Your Audience and Core Messages Before Planning Your Annual Report Photo Shoot
Before booking a photographer, clarify who will see these images and what story they tell, this foundation shapes every decision in planning your annual report photo shoot.
Identify your audience: donors want impact and human connection; board members need professional polish; employees want authentic representation.
Define three to five core messages your annual report must communicate. If you focus on youth education, photograph learning in action. If healthcare, capture care moments and patient outcomes.
Create a one-page brief listing your audience, three core messages, and one visual example for each. Share with your designer and photographer before the shoot to prevent wasted shots.
Your messages should connect directly to your fundraising goals. If you’re asking for donations to expand a program, photograph that program in action, not just the building. Show the work, not just the space.
Build Your Annual Report Photoshoot Shot List
A shot list maps specific images to specific pages of your annual report, ensuring you capture everything you need.
Mapping shots to your page plan
Start with your designer’s page plan. If page 12 features volunteer impact, photograph volunteers at work. If page 18 highlights partnerships, photograph those partners together.
For each major section, list the shots you need:
- Wide establishing shots of locations and events
- Detail shots of hands, materials, or close-ups that show care and effort
- People shots including portraits, group photos, and candid moments
- Action shots showing your work in progress, not posed
- Diversity shots reflecting your actual community in terms of age, background, and ability
Plan for 200-300 shots during the shoot to yield 40-60 final images. Your photographer should know this target beforehand.
Capturing people, locations, and moments
Identify key people to photograph: board members, executive director, program participants, and volunteers. Get their names and roles in advance so your photographer can approach them with confidence.
Scout locations before the shoot. Visit spaces where your work happens, shelters, classrooms, community centers, or outdoor spaces where your programs occur.
Plan for both posed and candid moments. Most annual reports benefit from a 40/60 split: 40% composed portraits and group photos, 60% candid shots capturing authentic emotion.
The best annual report photo examples show people doing real work, not sitting still for the camera. Candid moments tell your story more powerfully than any posed shot.
Create an Annual Report Photography Brief Template
Your photographer needs a clear brief to prevent misunderstandings and ensure professional delivery.
Use this template as your starting point:
Annual Report Photography Brief
Project Overview
- Organization name and mission
- Annual report theme or title
- Publication date and format (print, digital, or both)
Audience & Goals
- Who will view these images?
- What story does the annual report tell?
- What emotional response do you want?
Shoot Details
- Date, time, and duration
- Location(s) and address(es)
- Expected participants and key people
- Weather contingencies
Shot List by Category
- Executive portraits (names, roles)
- Program activity shots (what’s happening, where)
- Volunteer/staff candid moments
- Beneficiary or customer interactions
- Community/partnership moments
- Detail shots (hands, materials, outcomes)
Technical Requirements
- Image resolution and file format needed
- Delivery timeline for final images
- Any specific style or tone preferences
- Accessibility considerations (diverse representation, ability inclusion)
Logistics
- Parking and access information
- Contact person on the day
- Backup plan if weather or scheduling changes
- Consent forms or release procedures
Share this brief at least two weeks before your annual report photoshoot. A professional photographer will review it and ask clarifying questions. This conversation prevents surprises on shoot day.
Set Your Annual Report Photoshoot Timeline and Production Schedule
A well-paced timeline builds quality into every step. The difference between a chaotic shoot and a smooth one comes down to sequencing approvals, location confirmations, and stakeholder sign-offs at the right moments.
Detailed timeline from kickoff to delivery
Work backward from your publication date. For a June publication, use this timeline:
January (Report Planning Phase)
- Weeks 1-2: Define audience, core messages, and report theme
- Weeks 3-4: Develop page plan with designer; identify pages needing photography
February (Pre-Production)
- Week 1: Create detailed shot list mapped to each report page
- Week 2: Draft photography brief and visual reference folder
- Week 3: Scout locations; assess lighting, access, and restrictions
- Week 4: Identify key people; confirm availability and get stakeholder approval
March (Photographer & Logistics)
- Weeks 1-2: Book photographer; sign contract with clear deliverables and timeline
- Week 3: Finalize locations; confirm parking, access, and permits
- Week 4: Distribute brief to photographer and designer; confirm participants and send consent forms
April (Shoot Execution)
- Week 1: Conduct primary shoot
- Week 2: Secondary shoot if needed (backup locations or additional participants)
- Weeks 3-4: Photographer culls, color-corrects, and delivers proofs for leadership review
May (Final Delivery & Design Integration)
- Weeks 1-2: Photographer delivers high-resolution final images with metadata
- Weeks 2-3: Designer integrates images; requests adjustments if needed
- Week 4: Final design review and approval; design locked
June (Publication)
Annual report goes to print or launches digitally; distribute and use images for social media and fundraising.
Building in contingency and approval time
This timeline includes buffer weeks for approvals and unforeseen delays. Common delays include:
- Stakeholder sign-off delays: Build one week of review time at each approval gate.
- Weather or location access issues: Schedule your shoot for early April to allow a backup date in mid-April.
- Participant availability: Identify backup participants in advance.
- Image delivery delays: Confirm deadlines in writing and build a three-day buffer before your designer needs images.
Coordinating with your designer and photographer
Your designer and photographer should communicate at three key moments:
-
Kickoff call (late March): Walk through the page plan. Discuss style, tone, and visual references.
-
Mid-shoot check-in (early April): Photographer shares sample images; designer confirms style matches design direction.
-
Final delivery handoff (late May): Photographer delivers images with clear naming and metadata; designer integrates and confirms resolution and composition work in context.
Waiting until after the shoot to share images with your designer often means reshooting. Involve your designer early. A two-hour conversation at the start saves weeks of revision later.
Adjusting the timeline for your organization’s needs
Shift milestones backward or forward if your publication date differs. Do not skip approval gates. If you need images for press releases or social media before the full report launches, identify those shots in your brief and ask your photographer to prioritize delivery within 3-5 business days of the shoot.
If a photographer cannot commit to your delivery deadline, find another one. Missed deadlines cascade through the entire production schedule.
Scout Locations and Coordinate Key Participants
Visit each location in advance. Check lighting at your planned shoot time. Identify quiet spaces for portraits and bustling spaces for action shots.
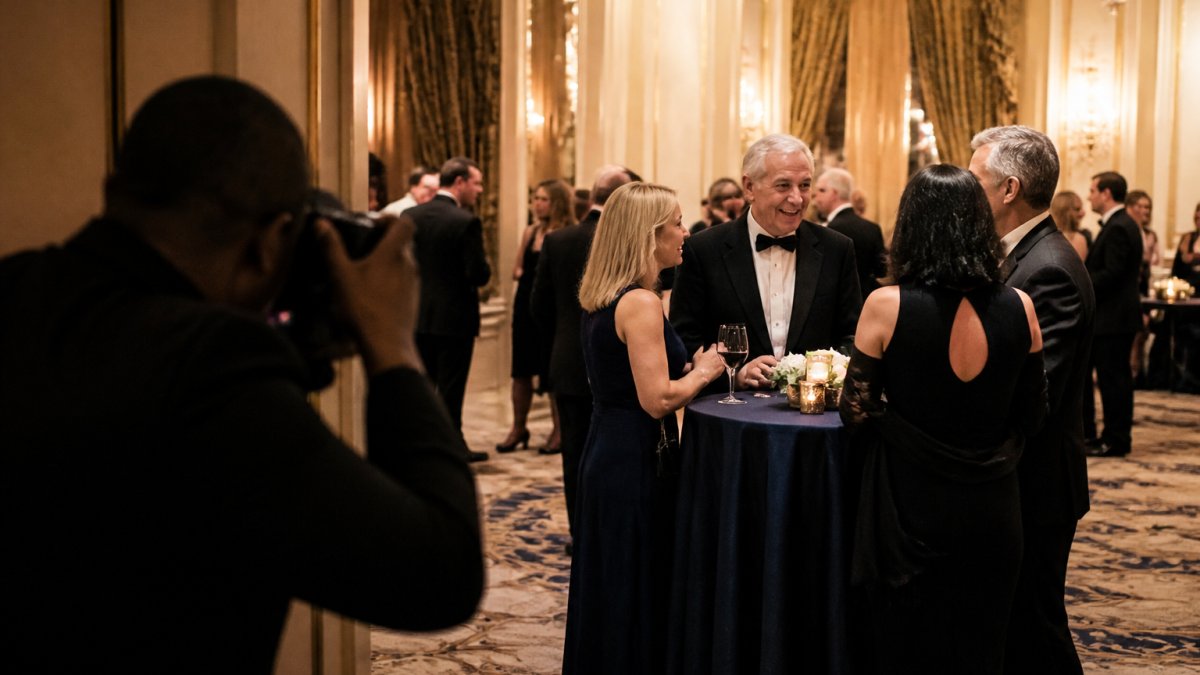
Meet key participants before the shoot and brief them on the purpose. People relax when they understand why they’re being photographed, making them more natural and authentic.
Confirm logistics with each location: parking, access times, security clearance, and photography restrictions. Know these rules in advance.
For annual report photo examples, the best images come from places where your work actually happens. A youth program’s classroom. A food bank’s warehouse. A healthcare clinic’s waiting room. Authentic locations create authentic images.
Review Annual Report Photo Examples and Set Quality Standards
Study annual report photo examples from similar organizations in your sector. Notice what works: lighting, composition, mix of portraits and action shots, and diversity of people shown.
Create a visual reference folder of 10-15 images you admire. Share with your photographer and explain why: natural lighting, authentic emotion, clean composition.
Define your style: photojournalistic candids, composed portraits, or a mix? Natural or studio lighting? Your photographer’s portfolio should match your style, but confirm alignment in conversation.
Images need to be high-resolution (300 DPI minimum for print) with accurate colors and proper exposure. A professional photographer delivers images that look good in print without heavy editing.
Manage Consent, Image Rights, and Safeguarding
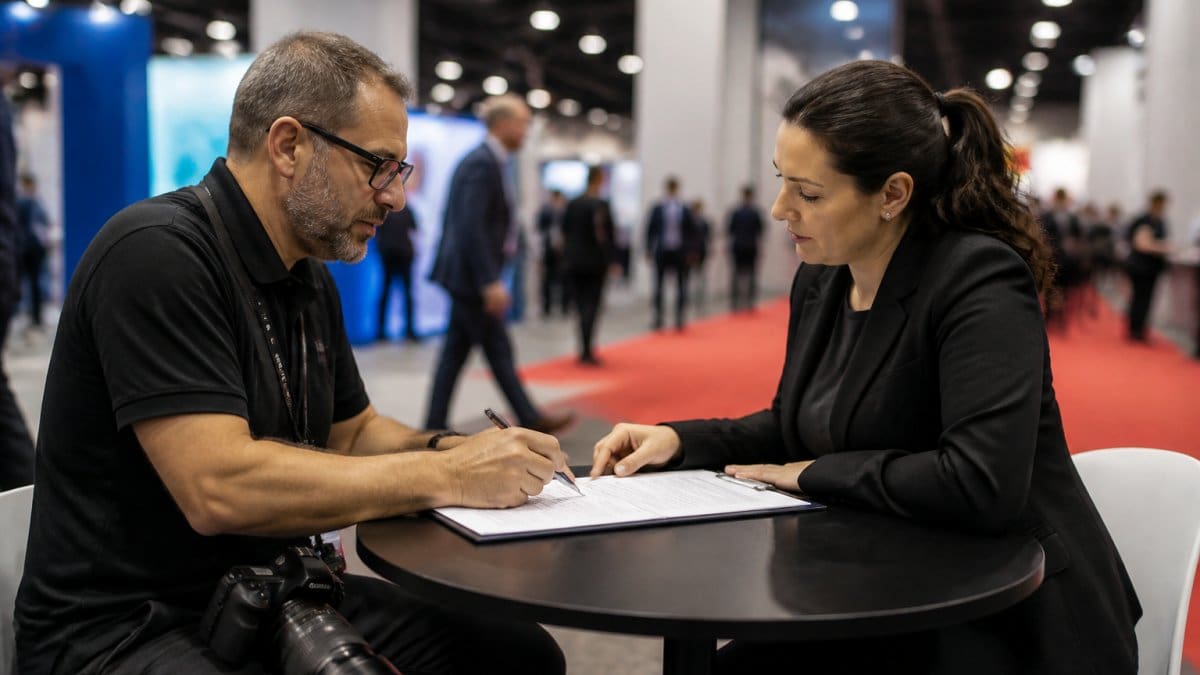
Before anyone appears in your annual report, get permission. This protects your organization legally and respects people’s privacy.
For employees and volunteers, a simple consent form works:
Photo Release Form
I give [Organization Name] permission to photograph me and use these images in our annual report, website, social media, and fundraising materials.
I understand that:
- Images may be edited for print or digital publication
- I will not receive payment for use of my image
- The organization retains rights to use these images indefinitely
Name: _______________
Date: _______________
Signature: _______________
For program participants or beneficiaries, especially minors or vulnerable populations, get written consent from parents or guardians.
Be transparent about how images will be used. If you’re using photos for fundraising, say so. If you plan to share on social media, mention it.
For sensitive populations (homeless individuals, people in recovery, children in foster care), consider anonymizing or limiting how you photograph.
Keep consent forms for at least three years. If someone objects to how their image was used, you have documentation of their original permission.
Deliver and Organize Your Final Images
After the shoot, your photographer should deliver images within the timeline promised. Most professionals deliver within one to two weeks.
Organize images in a folder structure that matches your shot list:
- Portraits
- Program Activity
- Volunteer Moments
- Community/Partnerships
- Detail Shots
- Backup/Alternate Shots
Name files clearly: “Volunteer_Maria_Portrait_01.jpg” tells you what you’re looking at. Avoid generic names like “IMG_2847.jpg.”
Create an image log with captions. For each final image, note:
- Who is in the photo
- Where it was taken
- What activity or moment it shows
- Any relevant context for your designer or communications team
This log makes it easy for your designer to select images and write captions. It also helps future team members understand your annual report’s visual content.
Back up all images in at least two locations: your computer and cloud storage. Annual report images are assets you’ll reference for years.
A professional annual report photoshoot takes planning, but the payoff is significant.
Planning a photoshoot for annual report design requires strategy, but the process becomes manageable when you break it into clear steps. At Event Photojournalism, we work with organizations across the DMV area to transform annual reports through award-winning photography that captures authentic moments and drives donor engagement. Our team understands the intersection of storytelling, logistics, and professional delivery, we brief your designer, coordinate your participants, and deliver high-resolution images on your timeline. Learn more about professional event photography for nonprofits and corporate annual reports to see how customized visual solutions can amplify your mission and elevate your brand. Contact us to discuss your annual report photo shoot and discover how our candid, photojournalistic approach transforms the way your organization tells its story.
Frequently Asked Questions
How far in advance should you plan an annual report photo shoot?
Start planning 3-4 months before your report deadline. This gives you time to define your narrative, coordinate with your designer, scout locations, and schedule the shoot itself. For large organizations with multiple locations or complex coordination, begin even earlier. Your photographer and designer should be briefed at least 6-8 weeks out so they can align on the visual story and page layout.
What should you include in an annual report photography brief template?
Your brief should cover the report’s audience and key messages, the narrative arc you’re telling, the page plan showing where images will appear, a detailed shot list with specific locations and participants, technical requirements (resolution, file format, delivery timeline), and any constraints around consent or sensitivity. Include examples of the visual style you want, candid and authentic versus formal, for instance, and clarify who the photographer should prioritize (employees, beneficiaries, leadership, community members).
How do you create a shot list for an annual report photo shoot?
Map each shot to a specific page or story section in your report. List what you need (e.g., ‘team collaboration in the main office,’ ‘close-up of data analysis work,’ ‘beneficiary testimonial’), the location, key participants, and the mood or framing you want. Include wide shots for context, detail shots for engagement, and people-focused images. Build in flexibility, plan 20-30% more shots than you think you need so the photographer and designer have options during layout.
What makes annual report photos feel authentic and professional?
Authentic photos come from capturing real moments rather than staging stiff poses. Brief your photographer on your organization’s culture and key messages so they understand what to look for. Use natural light when possible, show employees and beneficiaries in genuine activity, and include a mix of wide shots (context), medium shots (action), and close-ups (emotion). Avoid heavy editing, light color correction and cropping preserve the candid, photojournalistic feel while maintaining the polished quality your report needs.