Last Updated: October 23, 2026
Quick Summary
Natural light event photography starts with scouting the venue at the same hour your event will run, noting every window’s size, direction, and when sun hits it. On event day, position subjects so window light sits to their side at roughly 45 degrees, and use a shutter speed of at least 1/200 second to freeze motion.
- Photograph the empty venue at the exact time your event starts so you know where to stand.
- Line group portraits parallel to the window so everyone gets the same light quality.
- Use a 35mm or 50mm prime lens at f/1.4 or f/1.8 for dim reception halls.
- Use single-point focus placed on a face, not the center of the frame, in dark rooms.
- Set white balance for the dominant light source and correct the rest in editing.
Table of Contents
- 1. Scout the Venue: A Natural Light Checklist
- 2. Choose Natural Light Sources and Position Your Subjects
- 3. Natural Light Photography Settings for Events
- 4. Low Light Event Photography: Lens Choice and Focus
- 5. Indoor Event Photography Without Flash
- 6. How to Capture Light Rays in Photography at Events
- 7. Mixed Lighting, Color Temperature, and Consistent Editing
- Conclusion: Build a Natural Light Plan and a Backup
- Frequently Asked Questions
1. Scout the Venue: A Natural Light Checklist
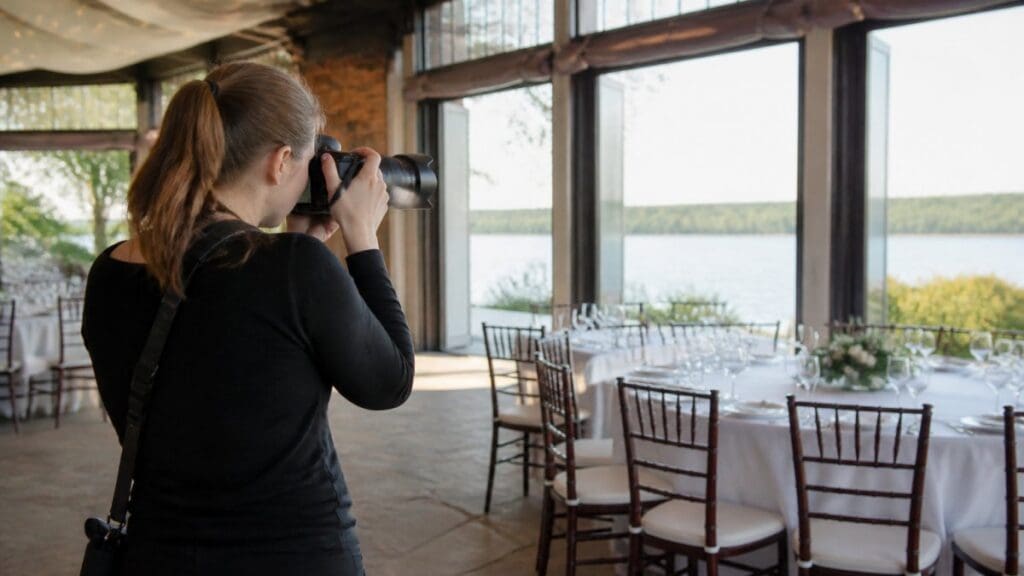
Natural light event photography techniques start long before you raise the camera. They start with a walkthrough. Venue scouting is a significant advantage a photographer can build, because light you understand in advance is light you can plan around. Arrive at the same hour your event will run. Light changes fast, and a room that glows at 4 p.m. can turn into a cave by 7.
Here is the checklist we run on every walkthrough:
- Note every window: size, direction, and what time sun hits it
- Check what sits outside each window (buildings, trees, awnings)
- Watch how light lands on the room’s main speaking spot
- Identify walls and ceilings that could bounce light later
- Test the room with your camera at event-day ISO settings
- Flag any spot where overhead lights create hard shadows
- Walk the reception floor and note where light falls off
The last item matters most. Guests gather where the light is good, so know where that is before they arrive.
Photograph the empty venue at the exact time your event starts. On event day, you already know where to stand.
2. Choose Natural Light Sources and Position Your Subjects
Window light is the workhorse of natural light event photography. A large window acts like a giant softbox, wrapping faces in even light. Position subjects so the window sits to their side, at roughly 45 degrees, and turn them slightly toward it. That angle gives shape to the face without harsh shadows.
Avoid placing anyone with their back to a bright window unless you want a silhouette. And keep an eye on the background. A cluttered hallway behind a speaker ruins a clean portrait.
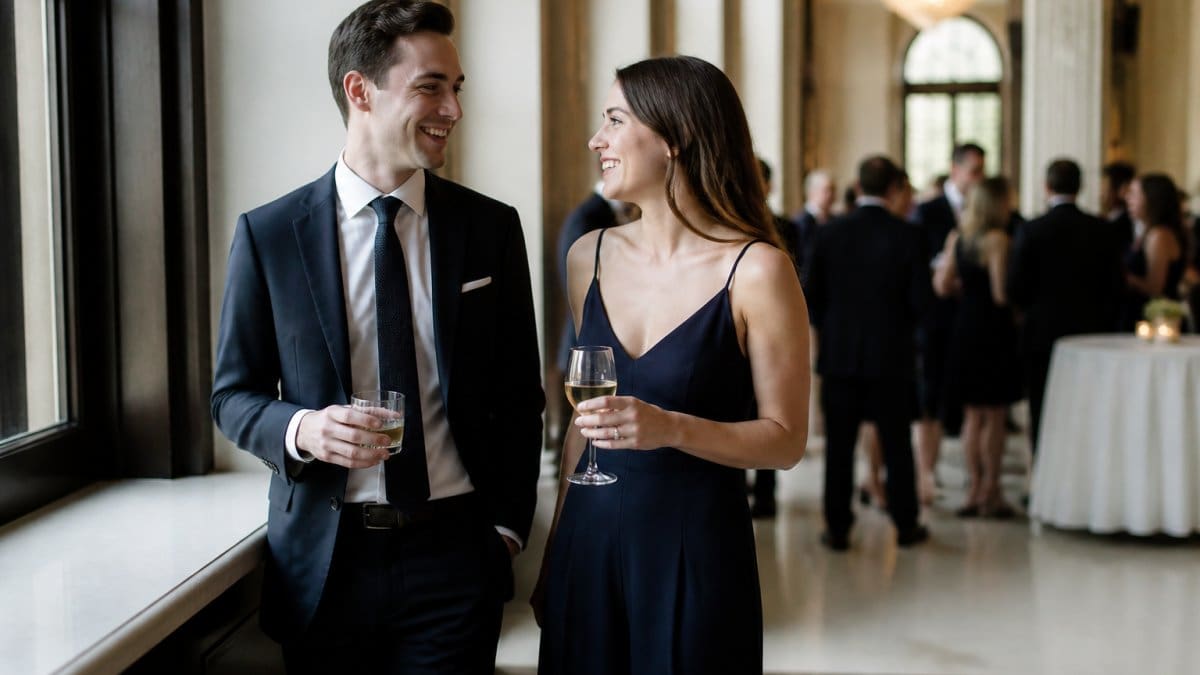
Mastering these window-side angles creates a timeless aesthetic that remains the hallmark of a professional natural light photo session.
For group portraits, line people up parallel to the window, not facing it. Everyone gets the same light quality, and nobody ends up half in shadow. When the sun is high and harsh outdoors, move subjects into open shade. A building overhang or a tent edge gives you soft light with no squinting.
3. Natural Light Photography Settings for Events
Natural light photography settings for events follow one rule: protect the highlights and let shadows sit. Start with a shutter speed of at least 1/200 second to freeze motion, and an aperture between f/1.8 and f/2.8 in dim rooms, according to Event Photojournalism’s guide to corporate event settings. Those are starting points, not laws. Adjust from there.
A simple baseline for window-lit portraits:
- Shutter speed: 1/200 or faster for moving guests
- Aperture: f/2.8 for groups, f/1.8 for single subjects
- ISO: raise until exposure looks right, then check for noise
- White balance: match the dominant light source, not auto
For candid moments, keep the shutter fast. Speeches and toasts involve hand gestures and turning heads, and 1/200 freezes most of it. For a quiet portrait by the window, you can drop to 1/125 if the subject holds still.
Auto white balance shifts between frames as guests move past windows and lamps. Lock it manually or you will fix every image in editing.
Here are the baseline settings the article recommends for natural light event work.
| Setting | Value | Note |
|---|---|---|
| Shutter speed | 1/200 second or faster | Freezes moving guests and gestures |
| Shutter speed (still portrait) | 1/125 | Only if the subject holds still |
| Aperture | f/2.8 for groups, f/1.8 for single subjects | Dim rooms: f/1.8 to f/2.8 |
| ISO | Raise until exposure looks right | Then check for noise |
| White balance | Match the dominant light source | Lock manually, not auto |
| Light rays aperture | Around f/8 | Sharpens the ray edges |
4. Low Light Event Photography: Lens Choice and Focus
Low light event photography rewards fast glass. For a broader practical guide to event photography lighting challenges and solutions, keep that guide handy. A prime lens at f/1.4 or f/1.8 gathers far more ambient light than a kit zoom, which means lower ISO and cleaner files. Our pick for dim reception halls is a 35mm or 50mm prime. The tradeoff is no zoom, so you move your feet. That is fine. Moving closer often produces better candid frames anyway.
Focus is the harder problem. In dark rooms, autofocus hunts. Use single-point focus and place the point on a face, not the center of the frame. Turn on your camera’s focus assist light only if it will not distract guests. Image stabilization helps with camera shake, but it will not stop a dancing guest. For that, you need shutter speed.
The 69% of guests who share event photos on social media within 24 hours, a figure cited by Eventiere’s event photography statistics, are usually sharing candids. Sharp candids win.
5. Indoor Event Photography Without Flash
Indoor event photography without flash is possible in most venues, but it demands honesty about limits. Readers who want the full picture can review venue lighting requirements and constraints in detail. Find the brightest ambient light in the room and build your coverage around it. Windows, lobby chandeliers, and stage lighting all count. Then set your exposure for the light you have and accept that the darkest corners will stay dark. That is often the right call for discreet coverage of private board members.
What most guides miss is that flash is not banned, only rationed. Cvent advises using fill flash on sunny days to cut shadows and bouncing flash off walls or ceilings for softer indoor light, per Cvent’s event photography tips. Treat flash as a supplement, not a crutch. One bounced pop during a dark toast can save the shot without breaking the mood.
6. How to Capture Light Rays in Photography at Events
Learning how to capture light rays in photography comes down to three things: a strong source, something to scatter it, and a clean background. Light rays show up when sunlight passes through haze, dust, or smoke. At events, that means windows with visible beams, stage spotlights cutting through fog, or late sun streaming into a reception hall.
To capture them:
- Find the beam and stand to the side of it, not in it
- Expose for the bright beam, not the dark room
- Use a smaller aperture, around f/8, to sharpen the ray edges
- Keep the background dark so the rays stand out
- Shoot when haze or dust is present, such as during a fog effect
Light rays are a bonus, not a requirement. Chase them when they appear, then return to the core coverage.
7. Mixed Lighting, Color Temperature, and Consistent Editing
Mixed lighting is where natural light event photography gets messy. For branded backdrops and lobby lighting, see this guide to step-and-repeat lighting. A window pours in cool daylight while incandescent bulbs throw warm orange and fluorescent tubes add a green cast. Your camera cannot fix all three at once. Pick the dominant source, set white balance for it, and correct the rest in editing.
Consistent editing matters as much as capture. Build one preset per venue, then apply it across the set so skin tones stay even from frame to frame. Batch-correct color temperature before you touch exposure.
Set white balance for the main light source, then fix the stragglers in editing. Chasing perfect color in-camera wastes shots.
Conclusion: Build a Natural Light Plan and a Backup
Natural light is powerful, but it is not guaranteed. Cloud cover, a late sunset, or a windowless ballroom can undo your plan in minutes. Build a backup before the event: a fast prime lens, a bounce flash you are cleared to use, and a scouted fallback spot with decent ambient light. To round out your plan, explore advanced lighting techniques.
That is where Event Photojournalism earns its place. We scout every venue, plan around the light, and carry a backup for when the room turns dark. Our award-winning team delivers high-resolution images built for annual reports, press releases, and donor outreach, and we work discreetly around private guests. Contact us to plan coverage for your next gala, conference, or summit, and let us turn your event into lasting visual assets.
Frequently Asked Questions
What camera settings work best for natural light event photography?
Start with a shutter speed of at least 1/200 second to freeze motion, an aperture between f/1.8 and f/2.8 in low light, and an ISO high enough to keep the exposure bright without clipping highlights. Use exposure compensation to protect skin tones when windows or stage lights are behind your subjects, and check the histogram after the first few frames. Adjust each value as the light changes through the event, and avoid dropping the shutter speed below 1/125 second when people are moving.
How do you photograph an indoor event in low light without flash?
For indoor event photography without flash, position subjects near windows and turn off overhead lights that cast mixed color. Use a fast prime lens at f/1.8 or f/2.8, raise ISO to whatever the scene needs, and rely on image stabilization or a tripod for static shots. Shoot in RAW so you can correct white balance later. Have a TTL speedlight in your bag as a backup, and bounce it off a ceiling or wall if ambient light drops below what your camera can handle.
How can you capture light rays in event photography?
To capture light rays, find a source of directional light such as a window, stage spotlight, or open doorway, and shoot toward it so the beam crosses the frame. Expose for the highlights so the rays stay visible, and place a subject or haze in the beam to make it read. Dust, fog machines, and backlit guests all help. Keep your lens clean, use a lens hood, and bracket exposure if the contrast is high. Light rays are strongest when the air is slightly hazy.
How do you avoid harsh shadows when photographing an outdoor event?
Shoot during softer times of day, position subjects in open shade or with the sun behind them, and use fill flash on sunny days to lift shadows on faces. Cvent recommends fill flash outdoors to reduce shadows and bounced flash indoors for softer light. If you are working without flash, turn subjects toward the light and use a reflector or a nearby white wall. Check skin tones on the back of the camera and adjust exposure compensation before moving on.