Table of Contents
- Understanding Event Photography Lighting Challenges
- Event Photography Camera Settings for Different Lighting Conditions
- Low Light Event Photography Tips for Professional Results
- Flash Photography for Events: Technique and Timing
- Essential Event Photography Equipment for Lighting Control
- Practical Lighting Setups for Common Event Scenarios
- Common Lighting Mistakes and How to Avoid Them
- Conclusion
Last Updated: July 25, 2026
Understanding Event Photography Lighting Challenges
Capturing moments under unpredictable lighting conditions is one of the most demanding aspects of professional event photography. Event photography lighting requires strategy, equipment knowledge, and real-time adaptation. Whether you’re photographing a candlelit gala, a brightly lit corporate conference, or a dimly lit reception, the lighting environment directly determines whether your images look professional or underexposed and unusable.
Events rarely offer ideal lighting conditions. Unlike studio photography where you control every variable, event venues present a mix of ambient light, decorative lighting, and conflicting color temperatures in the same room. Photographers must make split-second decisions about camera settings, flash usage, and positioning to capture moments that are both technically sound and emotionally compelling.
Scout your venue before the event starts. Walk through the space at the same time of day as the event, note where the brightest areas are, identify potential backlit subjects, and test your camera settings in those actual lighting conditions. This 15-minute investment prevents hours of underexposed or blown-out images later.
The real solution is understanding how to read light in real time and adjusting your approach before you press the shutter, rather than relying on automatic modes and post-processing recovery.
Event Photography Camera Settings for Different Lighting Conditions
Your camera settings form the foundation of event photography lighting success. The interplay between aperture, shutter speed, and ISO determines whether you capture sharp, well-exposed images or end up with blurry, dark shots.
Aperture, Shutter Speed, and ISO Balance
Start with your widest available aperture, typically f/2.8 or wider if your lens allows it. A wider aperture lets in more light and creates a shallower depth of field, isolating your subject from distracting backgrounds.
Shutter speed must stay fast enough to freeze motion. For handheld shooting at events, maintain a minimum of 1/125th of a second, though 1/250th or faster is safer when you’re moving around or your subjects are moving. Slower shutter speeds introduce camera shake and motion blur.
ISO is your flexibility tool. In low-light events, pushing ISO to 1600, 3200, or even 6400 is acceptable with modern cameras. The noise trade-off is worth it compared to a blurry, underexposed image. High-end cameras handle high ISO much better than entry-level models, but don’t let ISO limitations stop you from shooting.
For event photography lighting, aim for f/2.8 or wider, 1/250th second minimum, and adjust ISO upward as needed. This combination prioritizes sharpness and proper exposure over perfect noise levels.
White Balance and Color Temperature
Event venues rarely have consistent color temperature. A gala might have warm tungsten lighting mixed with cool LED uplighting. A corporate conference might have bright fluorescent overhead lights clashing with natural window light.
Set a custom white balance before the event begins by photographing a gray card under the primary lighting condition. If lighting changes dramatically, adjust your white balance setting accordingly. Alternatively, shoot in RAW format, which gives you complete white balance control in post-processing and preserves your options if lighting shifts unexpectedly.
Low Light Event Photography Tips for Professional Results
Low-light events, evening galas, nighttime receptions, indoor conferences with minimal windows, are where event photography lighting separates amateurs from professionals.
Positioning and Angle Strategy
Your position relative to available light sources dramatically affects image quality. Look for the brightest areas in the venue and position yourself to use that light to your advantage. If there’s a spotlight on the stage, position yourself so that light falls on your subject’s face rather than backlighting them.
Backlighting can work intentionally to create silhouettes and rim light, but it requires deliberate exposure compensation. Avoid accidental backlighting where your subject is underexposed and you’re forced to recover in post-processing.
Move around the venue continuously. The best photographers don’t stay in one spot; they scout angles, anticipate moments, and position themselves where light and composition align.
Using Available Ambient Light
Ambient light is your first resource before introducing flash. Many event photographers make the mistake of immediately reaching for their flash, which often produces harsh shadows and unnatural color casts.
Increase your ISO to 2000-4000 if needed. Open your aperture to f/2.8 or wider. Slow your shutter speed to 1/100th or 1/125th if you can handhold steadily. These adjustments let you capture images using only the venue’s existing light, which typically produces more natural-looking results than flash-lit images.
Ambient light also reveals the mood of the event. A candlelit dinner has a warm, intimate feel that flash destroys. Preserve that atmosphere by using ambient light whenever possible, then add flash selectively only when ambient light is truly insufficient.
Pushing ISO too high without proper technique leads to noisy, grainy images that look unprofessional in print or on large displays. Know your camera’s noise threshold and stay within it. For most professional cameras, ISO 3200 is safe; beyond that, noise becomes visible.
Flash Photography for Events: Technique and Timing
Flash is essential for event photography lighting, but only when used strategically. The wrong flash technique produces harsh shadows and unnatural color casts. The right technique adds light where it’s needed without overwhelming the ambient atmosphere.
On-Camera vs. Off-Camera Flash
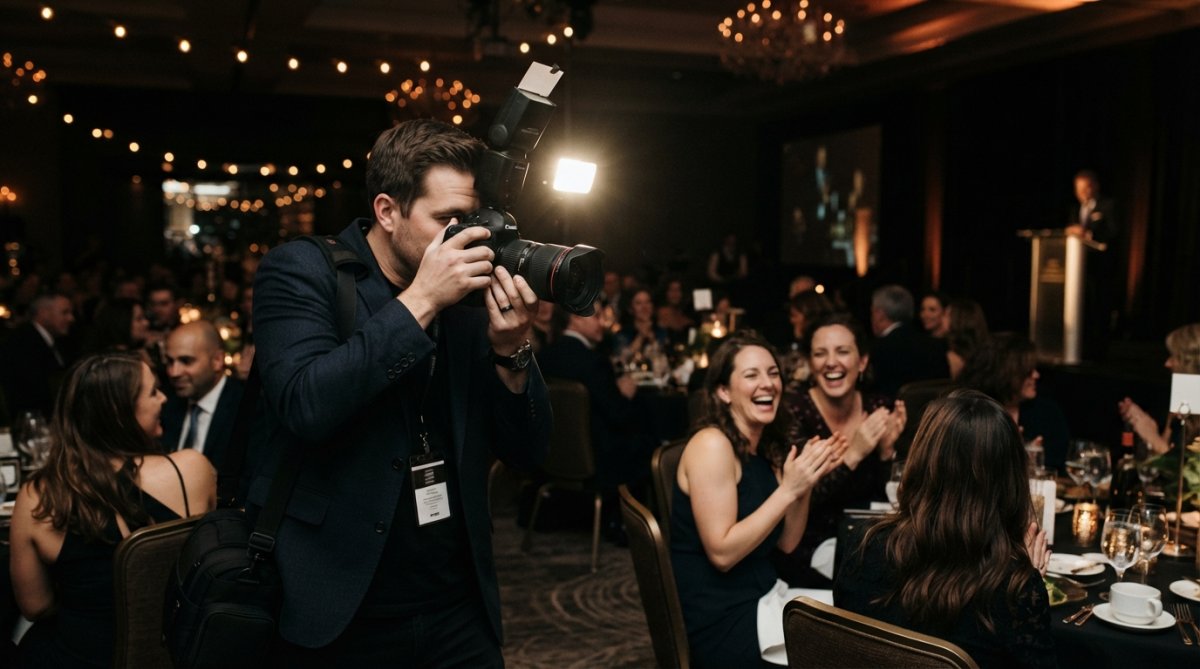
On-camera flash produces flat, frontal lighting that’s rarely flattering. Off-camera flash, held away from the camera or mounted on a stand, produces directional light that creates modeling and separation from the background.
For most event photographers, a hybrid approach works best: use on-camera flash as a fill light (reduced power, bounced off a ceiling or wall) to supplement ambient light, and reserve off-camera flash for situations where you need more dramatic control.
Bounce and Diffusion Methods
Direct flash is rarely the answer. Bouncing your flash off a ceiling or wall diffuses the light, making it softer and more flattering. If your venue has a white ceiling, bounce your flash upward; the ceiling acts as a giant diffuser.
Diffusion modifiers, softboxes, domes, or diffusion caps that attach to your flash head, soften the light and reduce harsh shadows. A small softbox adds minimal weight to your gear but dramatically improves flash-lit images.
Using full flash power creates harsh light and drains batteries quickly. Dial your flash down to 1/2 or 1/4 power, which produces softer light and recycles faster.
Essential Event Photography Equipment for Lighting Control
The right gear makes event photography lighting manageable. You don’t need an extensive setup, but certain equipment becomes essential.
Lighting Gear and Modifiers
A quality external flash is non-negotiable. Professional-grade flashes ($300-500) offer better build quality, faster recycling, and more sophisticated triggering options. For event work, invest in a flash with wireless triggering capability so you can position it off-camera.
A diffusion dome or softbox attaches to your flash head and softens the light output. These cost $30-80 and are lightweight enough to carry in your camera bag.
Light stands and wireless triggers enable off-camera flash work. A compact light stand ($40-60) holds your flash at the right height and angle. Wireless triggers ($60-150 per set) let you fire off-camera flashes without a cable tether.
A reflector bounces available light onto your subject, filling shadows and adding dimension. Reflectors cost $20-50 and are invaluable for outdoor or window-lit events.
Camera Lenses for Event Lighting Scenarios
Wide aperture lenses (f/1.4 to f/2.8) are essential for low-light events because they gather more light and create shallower depth of field. A 50mm f/1.8 lens ($100-200) is affordable and excellent for event work. An 85mm f/1.4 lens ($400-1200) is the gold standard for portraits and formal moments.
Zoom lenses offer flexibility to frame subjects from different distances without moving. A 24-70mm f/2.8 zoom ($800-2000) covers most event scenarios and maintains a constant wide aperture throughout the zoom range.
Avoid slow lenses (f/4 or slower) for events. They gather less light, forcing you to raise ISO or slow your shutter speed, both of which compromise image quality.
Rent lenses rather than buy if you’re starting out. A 24-70mm f/2.8 zoom rents for $30-50 per day, which is far cheaper than purchasing one outright.
Practical Lighting Setups for Common Event Scenarios
Different events demand different lighting approaches.
Gala and Formal Dinner Lighting
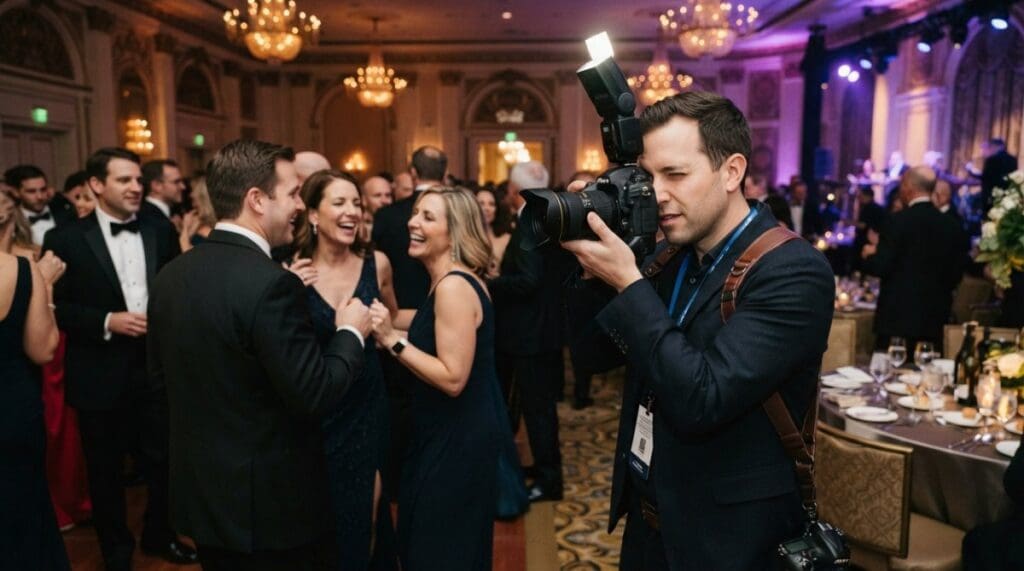
Galas typically feature warm, dim ambient lighting designed to create an intimate atmosphere. Start by maximizing ambient light: use ISO 2000-3200, f/2.8 or wider, and 1/125th second shutter speed.
When ambient light is insufficient, use on-camera flash bounced off the ceiling at reduced power (1/4 to 1/2). For formal portraits or key moments, position off-camera flash to the side and slightly above your subject, creating dimensional light that flatters faces.
Corporate Conference and Panel Lighting
Conference venues often have bright fluorescent overhead lighting combined with stage spotlights. Set a custom white balance for the primary lighting condition. Position yourself to avoid shooting directly into spotlights, which create lens flare and exposure metering errors.
For audience shots, use ambient light and minimal flash. The fluorescent overhead lighting is bright enough for proper exposure, though it may create an unflattering color cast that you can adjust in post-processing.
Reception and Candid Moment Lighting
Receptions typically feature mixed lighting: decorative uplighting, string lights, candles, and ambient light. Shoot in RAW format so you can adjust white balance in post-processing for each image.
Use ambient light as much as possible, positioning yourself where decorative lighting enhances your subjects. Anticipate where interesting light will fall and position yourself accordingly.
| Scenario | Primary Light Source | Recommended Aperture | Recommended ISO | Flash Strategy |
|---|---|---|---|---|
| Gala/Formal Dinner | Ambient warm lighting | f/2.8 or wider | 2000-3200 | Bounce flash at 1/4 power |
| Corporate Conference | Stage spotlights + fluorescent | f/2.8-4.0 | 800-1600 | Minimal fill flash |
| Reception | Decorative uplighting + ambient | f/2.8 or wider | 1600-3200 | Bounce flash as needed |
Common Lighting Mistakes and How to Avoid Them
Using full flash power in every situation creates harsh, unflattering light. Dial your flash down to 1/4 or 1/2 power and position it strategically.
Ignoring white balance leads to images with color casts that look unprofessional. Set a custom white balance before the event or shoot RAW for post-processing correction.
Positioning yourself in poor light compromises your subjects’ exposure. Scout the venue and identify where light is brightest and most flattering.
Relying entirely on ambient light in very dim venues results in underexposed images. Know when ambient light is insufficient and introduce flash strategically.
Shooting with slow lenses in low-light events forces you to raise ISO to unacceptable levels or slow your shutter speed until motion blur appears. Invest in at least one fast lens (f/2.8 or wider) for event work.
The most common mistake is not scouting your venue beforehand. Arrive early, test your settings in the actual lighting conditions, and identify the best positions for capturing key moments. This 20-minute investment prevents frustration and poor results.
Event photography lighting requires both technical knowledge and real-time adaptability. The challenge isn’t just understanding camera settings, it’s positioning yourself strategically, reading light in real time, and making split-second decisions that separate professional results from mediocre images. Event Photojournalism specializes in exactly this kind of challenging lighting situation, delivering award-winning images from galas, corporate conferences, and special events across the DMV area. Our team combines technical expertise with photojournalistic instinct to capture authentic moments under any lighting condition. CONTACT US to discuss your event’s lighting challenges and discover how professional event photography lighting can transform your special occasion into lasting visual assets.
Frequently Asked Questions
What are the best camera settings for low light event photography?
Start with a wide aperture (f/2.8 or wider), shutter speed of at least 1/125th of a second to freeze motion, and adjust ISO as needed, often 1600-3200 in dim venues. Shoot in aperture priority or manual mode so you maintain control. Use continuous autofocus to track moving subjects. White balance should match your venue's lighting; shoot in RAW format for maximum post-processing flexibility.
How do you use flash photography for events without creating harsh shadows?
Bounce your flash off ceilings or walls rather than pointing it directly at subjects. Use diffusers or softboxes to spread light evenly. Off-camera flash with a wireless trigger gives you more control and softer results. Reduce flash power to 50-75% and let ambient light contribute to the exposure. Avoid pointing flash directly at faces; angle it slightly for more flattering light.
What event photography equipment is essential for controlling lighting at different venues?
Essential gear includes an external flash (or two), wireless triggers for off-camera flash, light stands, softboxes or bounce reflectors, and diffusers. A fast prime lens (35mm or 50mm f/1.8 or wider) helps in low light without relying solely on flash. Consider a backup flash and extra batteries. Depending on the venue, you may also want gels to correct color temperature from mixed lighting sources.
How do you adapt event photography lighting tips for different venue types like galas versus corporate conferences?
Galas typically have decorative ambient lighting you can incorporate for a polished look, use lower flash power and let existing light dominate. Corporate conferences often have bright overhead fluorescent lights; use flash to add dimension and reduce unflattering shadows. For both, scout the venue beforehand, test your white balance, and plan where you'll position yourself to avoid backlighting and harsh shadows on speakers or honorees.
This article was written using GrandRanker