Table of Contents
- How to Prepare for Event Photography Before the Day Arrives
- Your Event Photography Checklist: Gear Bag Essentials
- Best Camera Settings for Events: Low Light and Beyond
- Building Your Event Photography Shot List
- Event Photography Contract Template: Legal and Contractual Protection
- On-Site Workflow, Backup Strategy, and Managing Client Expectations
- Post-Processing, Turnaround Times, and Post-Event Workflow Automation
- How to Prepare for Event Photography: Building Your Portfolio and Reputation
- Conclusion
Last Updated: May 30, 2026
Knowing how to prepare for event photography separates photographers who consistently deliver stunning results from those who scramble on the day. At Event Photojournalism, we’ve covered hundreds of corporate conferences, galas, and private events across the DMV area, and the single biggest differentiator between a successful shoot and a stressful one is preparation that starts days before the event begins. Most photographers focus almost entirely on camera technique. The real work happens before you ever pick up a lens.
Here’s what most guides get wrong: they treat event photography preparation as a gear checklist. It’s not. It’s a system, and every piece of that system, from venue scouting to contract language to post-processing workflow, has to function together. Below, we’ll walk you through exactly how to build that system, covering everything from shot lists and legal protection to on-site backup strategies that most photographers never think about until something goes wrong.
Event photography is the practice of documenting real moments as they unfold at live events, combining documentary-style candid photography with directed shots to produce a complete visual record that serves both personal and professional purposes.
How to Prepare for Event Photography Before the Day Arrives
Preparation for event photography begins the moment you confirm the booking, not the morning of the shoot. The photographers who consistently produce work that clients love spend as much time on pre-event logistics as they do behind the camera.
Scout the Event Venue in Advance
Venue scouting is the single most valuable thing you can do before any event. Visit the space at the same time of day the event will occur, because lighting conditions change dramatically from morning to evening. Check for mixed light sources, common in corporate ballrooms where tungsten chandeliers compete with daylight from windows. Note where the stage is, where guests will enter, and where the natural gathering points are.
Pay attention to the ceiling height. Low ceilings bounce on-camera flash effectively. High ceilings swallow it. That distinction alone will determine whether you pack a speedlight or a more powerful strobe.
If an in-person scout isn’t possible, ask the event planner for floor plans and request photos from a previous event held at the same venue. Even a Google Street View walkthrough of the exterior helps you understand the building’s orientation and natural light potential.
Communicating With the Event Planner and Client
The event planner is your most important contact on any job. A direct conversation before the event, not just an email exchange, clarifies expectations and prevents misunderstandings that are impossible to fix after the fact.
Ask specific questions: What are the three or four moments the client absolutely cannot miss? Will there be a formal program with a timeline? Are there VIPs who need to be identified by name? Is flash photography permitted during the ceremony or keynote?
According to Professional Photographers of America’s business resources, clear pre-event communication is one of the most frequently cited factors in client satisfaction for event photographers. Get the event itinerary in writing. Build your shot list from it.
Your Event Photography Checklist: Gear Bag Essentials
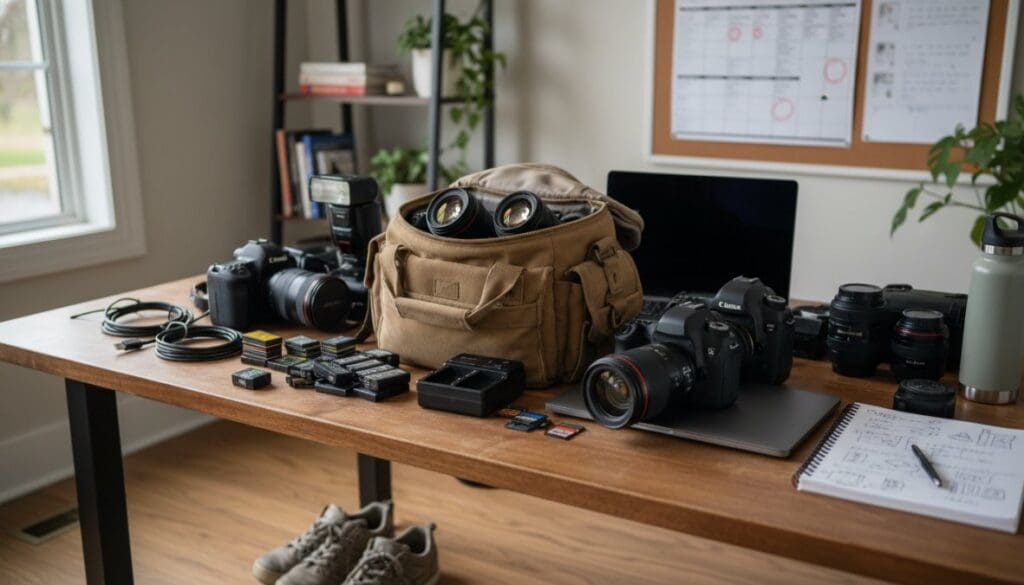
A professional gear bag is not about owning the most expensive equipment. It’s about having redundancy for everything that can fail and the right tools for the specific lighting environment you’ve already scouted.
Camera Bodies, Prime Lenses, and Zoom Lenses
Bring two camera bodies. This is non-negotiable. Bodies fail, batteries die mid-charge, and swapping lenses in a crowded ballroom while a toast is happening is a guaranteed way to miss the shot.
The classic event photography lens pairing is a 24-70mm f/2.8 zoom lens on one body and an 85mm f/1.8 prime lens on the other. The zoom handles wide establishing shots and group photos. The prime handles portraits and candid moments where you need to work at a distance without disturbing the atmosphere. A 70-200mm f/2.8 zoom lens earns its weight at larger venues where you can’t physically get close to the stage.
Prime lenses have a real advantage in low light settings. An 85mm f/1.4 or a 50mm f/1.8 lets you shoot at lower ISO values, which preserves image quality in dimly lit reception halls.
Flash Photography Gear: On-Camera Flash and Diffusers
On-camera flash is essential for most indoor events, but bare flash is almost always the wrong choice. A diffuser, whether a small dome diffuser or a bounce card, softens the light and prevents the harsh shadows that make event photos look amateur.
The most effective technique in most ballroom and conference settings is to bounce the flash off the ceiling at a 45-degree angle. This creates soft, directional light that looks natural. A diffuser helps when ceilings are too high or too dark to bounce effectively.
Carry at least two speedlights with fresh batteries. Flash units overheat during sustained use, and having a backup means you never miss a moment waiting for a unit to cool down.
Never rely on a single memory card. Cards fail without warning, and losing an entire event shoot to a corrupted card is a career-damaging mistake. Use two cards simultaneously whenever your camera body supports dual-card recording.
Best Camera Settings for Events: Low Light and Beyond
The best camera settings for events are not a fixed formula. They are a starting point that you adjust based on what the venue scout revealed and what the event’s lighting conditions actually deliver when you arrive.
Shutter Speed, Aperture, and ISO for Indoor Events
For most indoor corporate events, start with a shutter speed of 1/100s to freeze motion without introducing camera shake. Drop to 1/80s if you need to let in more light, but understand that guests who are moving will show motion blur below 1/100s. Aperture should be as wide as your lens allows, typically f/2.8 on a zoom or f/1.8 on a prime, to maximize light intake. Set ISO to auto with a ceiling of 6400 on modern full-frame bodies. Most current-generation cameras produce usable files at ISO 3200-6400 after post-processing.
Exposure compensation is a tool most photographers underuse. In venues with bright stages against dark backgrounds, the camera’s metering system will underexpose the subject. Dial in +1 to +1.3 stops of exposure compensation to compensate.
Handling Difficult Lighting Scenarios and White Balance
Mixed lighting is the hardest challenge in event photography. A room might have warm tungsten overhead lights, cool LED stage lighting, and daylight streaming through windows, all in the same frame.
Shoot in RAW format. This is mandatory, not optional. RAW files give you the latitude to correct white balance in post-processing without destroying image quality. Setting white balance to Auto (AWB) while shooting RAW is a practical approach for fast-moving events where you can’t stop to adjust manually. According to Adobe’s photography learning resources, RAW files retain significantly more color data than JPEGs, which makes white balance correction far more precise in editing.
For stage lighting that shifts colors rapidly, bracket your white balance or shoot a gray card reference shot at the start of each new lighting environment. That reference shot saves significant time during post-processing.
Building Your Event Photography Shot List
An event photography shot list is a prioritized document that maps every required image to a specific moment in the event itinerary, ensuring nothing critical gets missed during a fast-paced shoot.
Build the shot list in collaboration with the client and event planner during your pre-event communication. Organize it chronologically, matching the event itinerary. A corporate conference shot list looks very different from a wedding shot list, but the structure is the same: anchor shots (must-haves), secondary shots (important but not critical), and opportunistic shots (candid photography moments that arise naturally).
A practical event photography checklist for a corporate event typically includes:
- Venue exterior and entrance, before guests arrive
- Registration table and guest arrival candid shots
- Speaker portraits at the podium (wide, medium, close-up)
- Audience reaction shots during keynotes
- Networking moments and candid interactions
- Award or recognition presentations
- Group photos of specific teams or departments
- Sponsor signage and branded materials
- Catering and venue detail shots
- Closing remarks and final group moment
Share the shot list with the event planner before the event. Their feedback often surfaces moments you wouldn’t have known to prioritize, such as a surprise recognition or an unscheduled VIP appearance.
Event Photography Contract Template: Legal and Contractual Protection
Every event photography engagement needs a signed contract before you show up with a camera. This is the part of the business that most guides skip entirely, and it is the part that protects both you and the client when expectations diverge, when an event gets cancelled the morning of the shoot, or when a corporate client decides to use your images in a national ad campaign without asking. A handshake agreement is not a contract. An email thread is not a contract. A signed document with specific clauses is.
The Seven Clauses That Actually Matter
Most contract templates circulating online are generic photography agreements that were not written with event-specific risks in mind. The following clauses address the scenarios that are unique to live event work.
1. Scope of Work, Be Specific About Hours and Deliverables
Do not write "full event coverage." Write "continuous coverage from guest arrival at 6:00 PM through the conclusion of the awards presentation, estimated 10:00 PM, not to exceed five hours." Specify the number of final edited images the client will receive. A common professional standard for a four-to-five-hour corporate event is 150 to 300 final edited images, but whatever number you agree on, put it in writing. Vague scope language is the single most common source of post-event disputes.
2. Usage Rights, The Clause Most Photographers Underwrite
Usage rights determine who can use the images, for what purpose, and for how long. This is where significant money is left on the table. A corporate client who wants to use event photos in a press release is a different licensing situation from a client who wants to run those same images in paid digital advertising for two years.
A practical structure is to grant the client a non-exclusive license for internal use and organic social media as part of the base fee, and to price extended commercial use, paid advertising, editorial licensing, billboard or print campaigns, as a separate line item. State this explicitly: "License granted covers internal communications, company website, and organic social media posts. Use in paid advertising or third-party publications requires a separate written licensing agreement."
As documented in American Society of Media Photographers’ contract guidance, photographers who define usage rights in specific, enumerated terms report significantly fewer disputes than those who use broad language like "client owns all images."
3. Model Releases, The Clause That Protects Your Portfolio
Event photography takes place in semi-public settings, but that does not automatically give you the right to use images of identifiable individuals for commercial purposes, including your own marketing. A model release clause in the client contract is not sufficient on its own, it grants you permission to use images of the event generally, but it does not substitute for individual releases from specific people whose faces appear prominently in images you want to use for advertising or portfolio promotion.
For corporate events, build a simple model release into the event registration process by asking the client to include a photography consent notice in their attendee communications. This is standard practice at professional conferences. For private events, carry a short individual release form and ask key subjects to sign it on-site if you intend to use their image beyond the client deliverable.
Never assume that photographing someone at a private corporate event gives you the right to publish their image publicly. Employment contexts, union rules, and individual privacy expectations vary. When in doubt, get a signed release or do not publish the image.
4. Cancellation and Postponement Policy, The Clause That Saves Your Income
Events get cancelled. Budgets get cut. A pandemic-era lesson that many photographers learned the hard way is that a cancellation policy needs to address not just cancellation but postponement, because a client who postpones an event six months out is not the same situation as a client who cancels outright.
A workable structure: require a non-refundable deposit of 25 to 50 percent of the total fee to hold the date. If the client cancels within 30 days of the event, the full fee is due. If the client postpones to a date you are available for, apply the deposit to the new date with no penalty. If the postponed date is not available on your calendar, treat it as a cancellation and retain the deposit. State these terms in plain language, not legalese.
5. Force Majeure, What Happens When Neither Party Is at Fault
A force majeure clause addresses events outside either party’s control: severe weather, venue emergencies, government-mandated shutdowns, or a photographer’s sudden medical emergency. The clause should specify what constitutes a force majeure event, what notice is required, and what the financial remedy is, typically a full refund of any deposit paid, with no further liability on either side.
6. Turnaround Time and Delivery Format
State the delivery timeline in the contract, not just in a follow-up email. Specify the format: high-resolution JPEG files, delivered via an online gallery platform, with a download link active for 90 days. Specify what happens if the client needs files in a different format or needs the gallery extended, these are billable requests, and saying so upfront prevents awkward conversations later.
7. Secondary Shooter and Subcontracting Language
If you bring a second photographer to large events, clarify in the contract whether that person is your employee, a subcontractor, or a separate vendor. This matters for liability purposes. If the second shooter causes damage to property or a guest files a complaint, the contract should make clear who bears responsibility. A simple clause stating that all subcontractors work under your direction and that you retain editorial control over all images delivered is sufficient for most situations.
The Deposit Conversation
Requiring a deposit is not aggressive, it is standard professional practice. Clients who have worked with professional photographers before will expect it. Frame the deposit as a date-hold fee: you are removing that date from your availability calendar and declining other bookings, and the deposit compensates you for that commitment. A deposit of 25 to 50 percent of the total project fee is the most common range among working event photographers.
A contract is not a sign of distrust. It is a professional document that makes expectations explicit for both parties. Send it before the event, require a signature before you confirm the booking, and keep a copy accessible on your phone during the event in case questions arise on-site. Clients who push back on signing a contract are telling you something important about how the rest of the engagement will go.
On-Site Workflow, Backup Strategy, and Managing Client Expectations
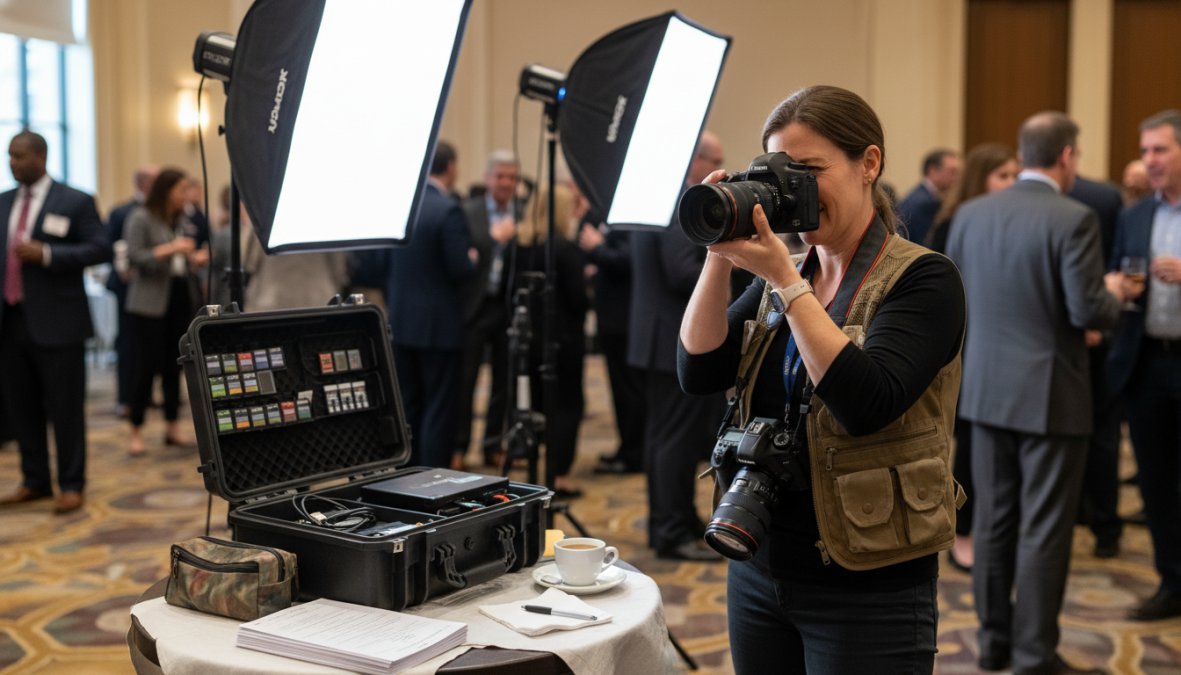
The difference between a professional and an amateur often shows up not in the photos themselves, but in how the photographer operates on-site. Systematic workflow and clear communication define professionalism.
Memory Cards, Battery Backup, and Redundancy
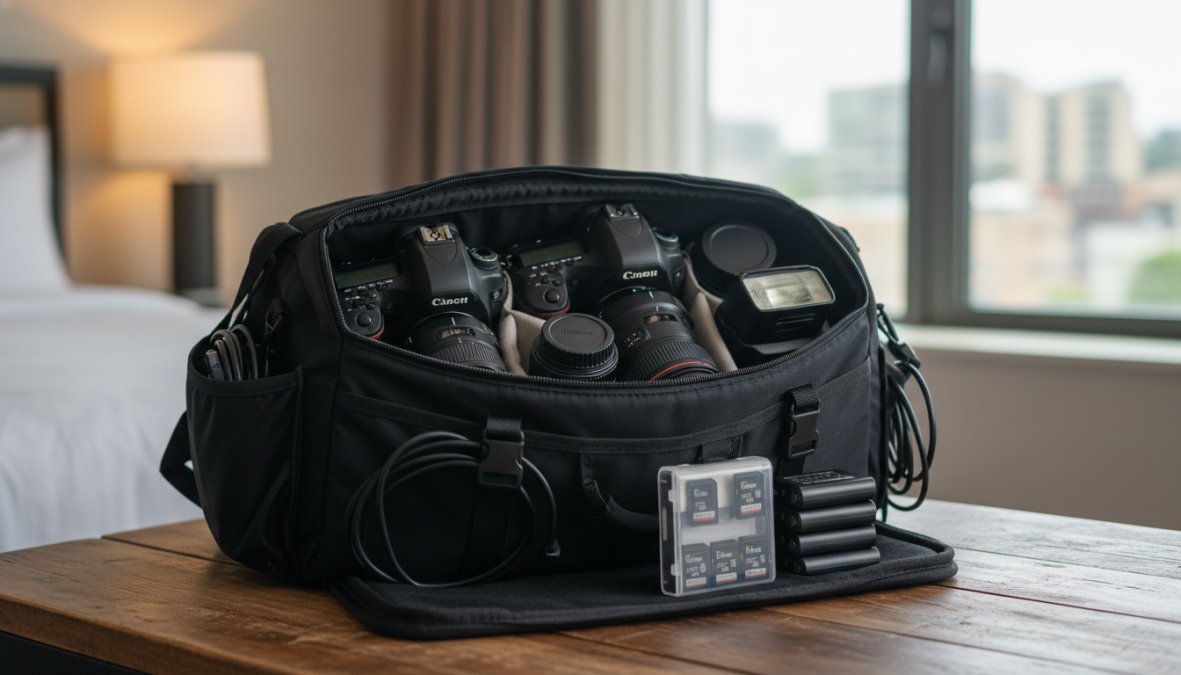
Arrive with more storage and power than you think you’ll need. For a four-hour event, bring at minimum four 64GB memory cards and three fully charged batteries per camera body. Format cards before every event, not after, so you know they’re clean and tested.
If your camera supports dual card slots, use them. Set the second slot to mirror the first in real time. This creates an instant backup of every image as it’s captured. At the end of the event, the first card stays with you as the primary; the second is your insurance policy.
Battery backup follows the same logic. Keep spare batteries in an inside jacket pocket, not in the gear bag. Body heat keeps lithium batteries performing better in cold venues or outdoor events.
Candid Photography vs. Directed Shots: Balancing Both Styles
Documentary-style candid photography captures the authentic energy of an event. Directed shots ensure that key people and moments are documented with intention. The best event photographers move fluidly between both modes.
A practical approach: spend the first 30 minutes of any event in pure documentary mode. Let guests settle in, observe the natural flow, and identify the personalities who are most expressive. Those are your candid photography anchors. Then shift to directed shots for formal moments, group photos, and any specific shots from the shot list that require positioning people deliberately.
Managing client expectations around this balance is part of the pre-event conversation. Some clients want primarily formal, polished images. Others specifically want the candid, unposed moments. Knowing which type of client you’re working with shapes every decision you make on the day.
Post-Processing, Turnaround Times, and Post-Event Workflow Automation
Post-processing is where the shoot becomes a deliverable, and turnaround time is one of the most common sources of client frustration in event photography. The photographers who consistently meet deadlines without burning out are not working faster, they are working through a repeatable system that removes every unnecessary decision from the process. This section builds that system step by step.
Set Turnaround Expectations Before the Event, Not After
The turnaround time conversation belongs in the contract, not in a follow-up email sent after the client starts asking where their photos are. A realistic standard for most corporate events is five to seven business days for a curated, edited gallery. This assumes a four-to-six-hour event producing 300 to 500 final selects from a shoot of 1,500 to 2,500 raw frames, a typical ratio for a working event photographer.
If you are shooting multiple events in the same week, be honest about your capacity. Promising three-day delivery when you have two other shoots and a full editing queue is a mistake that damages your reputation more than a longer turnaround would. Most corporate clients care more about reliability than speed. Tell them seven days and deliver in five, and you look exceptional. Tell them three days and deliver in seven, and you look unprofessional regardless of the image quality.
The Night-of Import: Do This Before You Sleep
The most important post-event workflow step happens the same night as the shoot, before you do anything else. Import your RAW files to two separate physical locations, your primary working drive and a backup drive, before you go to sleep. Do not wait until the next morning. Cards can fail, bags can be lost or stolen, and the window between the end of an event and the next morning is when most data loss incidents occur.
A practical setup: use a USB-C hub to connect both drives simultaneously and run your import software to copy to both destinations in a single operation. Lightroom Classic, Capture One, and Photo Mechanic all support importing to a primary location with a simultaneous backup copy. Enable this setting once and it runs automatically on every import.
Label your folders with a consistent naming convention from the first day: YYYYMMDD_ClientName_EventType. This sounds trivial until you are searching for a specific event two years later across three external drives.
Culling: The Step That Determines Everything Downstream
Culling, selecting the best images from the full shoot, is where most photographers lose the most time, because they approach it without a system. A structured culling workflow cuts this step from several hours to under an hour on a typical event shoot.
Photo Mechanic is the tool most working event photographers use for culling, and for good reason. It renders previews from embedded JPEGs rather than decoding the full RAW file, which means images load nearly instantly even on large shoots. The practical difference: culling 2,000 frames in Photo Mechanic takes a fraction of the time it takes in Lightroom’s Library module, where RAW previews load progressively and slow the decision-making rhythm.
The culling process works in two passes:
Pass One, Elimination. Move through every frame at full speed. Tag anything that is technically unusable: out of focus on the subject’s eyes, motion blur on a face, subject blinking, or a composition so poor it cannot be saved in crop. Do not stop to evaluate borderline images. Flag them and keep moving. The goal of pass one is to remove the obvious rejects as fast as possible.
Pass Two, Selection. From what remains, identify your selects. For each moment or scene, choose the single best frame. If a speaker gave a 20-minute keynote and you shot 200 frames of it, you are delivering four to six images from that sequence, not 40. Clients do not want every frame, they want the best frame from each moment. This discipline is what separates a curated professional gallery from a contact sheet dump.
AI-assisted culling tools have become genuinely useful for this step. Lightroom’s AI-powered "Select" feature and dedicated tools analyze sharpness, facial expression, and composition to surface the strongest frames. These tools are not a replacement for editorial judgment, but they are effective at flagging technical failures and grouping similar frames, which accelerates pass one significantly. Use them as a first filter, not as a final decision-maker.
Editing: Build a Preset System, Not a Per-Image Habit
The most time-consuming editing mistake is treating every image as a unique problem to solve from scratch. A preset system eliminates this by establishing a baseline that handles 80 percent of the work automatically.
Build your base preset around the lighting conditions you encounter most often. If you shoot primarily indoor corporate events with mixed tungsten and LED lighting, your base preset should include a white balance starting point, a slight shadow lift, a highlight recovery value, and your preferred color grading tone. Apply this preset to all selects on import.
From that baseline, you are making targeted adjustments on individual images, exposure correction, local adjustments on faces, white balance fine-tuning on images with unusual color casts, rather than building every image from zero. On a 300-image corporate event gallery, a well-built preset system can reduce editing time by a substantial margin compared to image-by-image processing.
For hero shots, the eight to twelve images that will anchor the gallery and likely appear in the client’s marketing materials, invest full manual attention. These images justify the time. For the supporting images that provide context and coverage, the preset does the heavy lifting.
Batch Export and Gallery Delivery
Export settings for corporate event delivery: full-resolution JPEG at quality 90 to 95, sRGB color space, with copyright metadata embedded. Most corporate clients receive files via an online gallery platform rather than a file transfer service, because gallery platforms provide a better viewing experience and allow selective downloading.
When you send the gallery link, do not just send a link. Write a short personal note that calls out two or three specific images you are proud of and explains why. This takes three minutes and consistently generates positive responses from clients, because it demonstrates that you were paying attention to their event specifically, not just executing a generic job.
Set your gallery platform to notify you when the client first opens the gallery. This tells you when they are actively reviewing the work, which is the right moment to follow up and ask if they have any questions, not three days later when the moment has passed.
The Repeatable System Is the Product
The goal of post-event workflow automation is not to produce a single great gallery. It is to produce a consistently excellent gallery on every shoot, regardless of how tired you are, how difficult the lighting was, or how many other projects are competing for your attention. A repeatable system, same import routine, same culling passes, same preset baseline, same export settings, same delivery format, is what makes that consistency possible. Clients hire photographers they can rely on. The workflow is what makes you reliable.
How to Prepare for Event Photography: Building Your Portfolio and Reputation
Building a strong event photography portfolio is an ongoing process that starts with every shoot, regardless of the event’s scale. The portfolio is the primary tool for attracting new corporate and private event clients.
Curate ruthlessly. A portfolio of 20 exceptional images outperforms a gallery of 100 average ones. Select images that demonstrate range: wide environmental shots that establish the venue, tight portraits that capture emotion, and candid photography that shows genuine moments. For corporate events, include images that show branding elements, speaker authority, and audience engagement, because these are the specific outcomes corporate clients are paying for.
Networking with event planners directly is the fastest path to consistent bookings. Event planners at hotels, conference centers, and corporate venues are repeat buyers who need reliable photographers for multiple events per year. A single relationship with a busy event planner can generate more bookings than months of social media marketing.
Event Photojournalism has built its reputation across the DMV area precisely through this combination of technical excellence and professional reliability. Award-winning photography that consistently elevates client brands comes from preparation systems, not luck. Every corporate conference, gala, and private event we cover follows the same structured approach outlined in this guide, because consistency is what turns a single client into a long-term relationship.
The documentary style that defines event photojournalism, capturing real moments as they happen rather than staging everything, is also what makes portfolio images compelling to prospective clients. People can tell the difference between a real moment and a posed one. Real moments sell.
Executing a high-quality event shoot requires more than technical skill. It demands preparation, communication, legal protection, and a reliable post-event delivery system working together. Event Photojournalism provides award-winning, high-resolution event photography across Washington DC and Northern Virginia, with customized coverage designed to elevate your brand and ensure every critical moment is documented with precision. Our team brings the full system described in this guide to every corporate conference, gala, and special event we cover. Contact Event Photojournalism to discuss your next event and receive coverage that transforms the occasion into lasting visual assets.
Frequently Asked Questions
What should I bring to an event photography shoot?
Your event photography checklist should include at least two camera bodies, a selection of prime lenses and zoom lenses, an on-camera flash with a diffuser, multiple memory cards, spare batteries, and a battery backup charger. Also bring a printed copy of your shot list and event itinerary. For corporate events or galas, a monopod can help during long shooting periods. Packing redundant gear is essential, equipment failure during a live event is not recoverable.
What are the best camera settings for indoor event photography?
For indoor event photography in low light, start with a wide aperture between f/1.8 and f/2.8, a shutter speed of at least 1/100s to freeze motion, and an ISO between 1600 and 6400 depending on your camera's noise performance. Shoot in RAW files to preserve maximum latitude in post-processing. Set your white balance manually or use Auto White Balance with RAW to correct color casts from mixed venue lighting. Use exposure compensation to fine-tune without diving into full manual mode.
How do you create an event photography shot list?
An event photography shot list should be built in collaboration with the event planner or client during a pre-event consultation. Organize it chronologically, following the event itinerary: arrival and registration, keynote or ceremony moments, candid networking shots, group photos, award presentations, and venue detail shots. For corporate events, include branding and signage. For private parties or galas, prioritize key guests and milestone moments. Share the final shot list with the client for approval before the event date.
What should an event photography contract include?
A solid event photography contract template should cover the event date, location, and hours of coverage; the deliverable format (high-resolution images, RAW files, or edited JPEGs); turnaround time for delivery; licensing and usage rights; cancellation and rescheduling policies; a model release clause if images will be used commercially; and payment terms including a non-refundable deposit. Contracts protect both the photographer and the client and set clear expectations before the event begins.
How do you handle difficult lighting at events?
Difficult lighting scenarios at events, such as mixed color temperatures, harsh spotlights, or near-total darkness, require preparation. Arrive early to assess the venue lighting and adjust your white balance accordingly. Use an on-camera flash with a diffuser to soften harsh shadows, or bounce flash off ceilings for more natural fill light. For stages with strong backlighting, use exposure compensation to protect your subject's face. Shooting in RAW files gives you the most flexibility to correct color casts during post-processing.
How do you communicate with clients before an event photography job?
Effective client communication before an event starts with a detailed intake questionnaire covering the event type, schedule, key people to photograph, and any sensitive restrictions. Follow up with a pre-event call or meeting to review the shot list and event itinerary together. Confirm logistics, parking, venue access, and point-of-contact on the day, at least 48 hours before the event. Clear communication reduces surprises, aligns client expectations, and helps you deliver images that genuinely reflect the client's vision.
This article was written using GrandRanker